Lists:
My list:
Supreme Archdomina Makeda WB+24
- Titan Gladiator - 14
- Titan Sentry - 15
Tyrant Radheim - 9
Morthieurge Willbreaker - 4
Morthieurge Willbreaker - 4
Tyrant Commander and Standard - 6
min Paingiver Beasthandlers - 5
Max Praetorian Ferox - 21
Max Praetorian Ferox - 21
Objective: Fuel Cache
His List:
Pirate Queen Skarre WJ+28
- Skarlock Thrall - 4
- Kraken - 36
Aiakos, Scourge of the Meridius - 4
- Stalker - 8
- Stalker - 8
Warwitch Siren - 4
Necrotech - 2
Soul Trapper - 1
Scrap Thrall - 2
Ragman - 4
Soulhunters min - 11
Satyxis Raiders max - 16
- Satyxis Radier Sea Witch - 3
Pre Battle Thoughts and deployment:
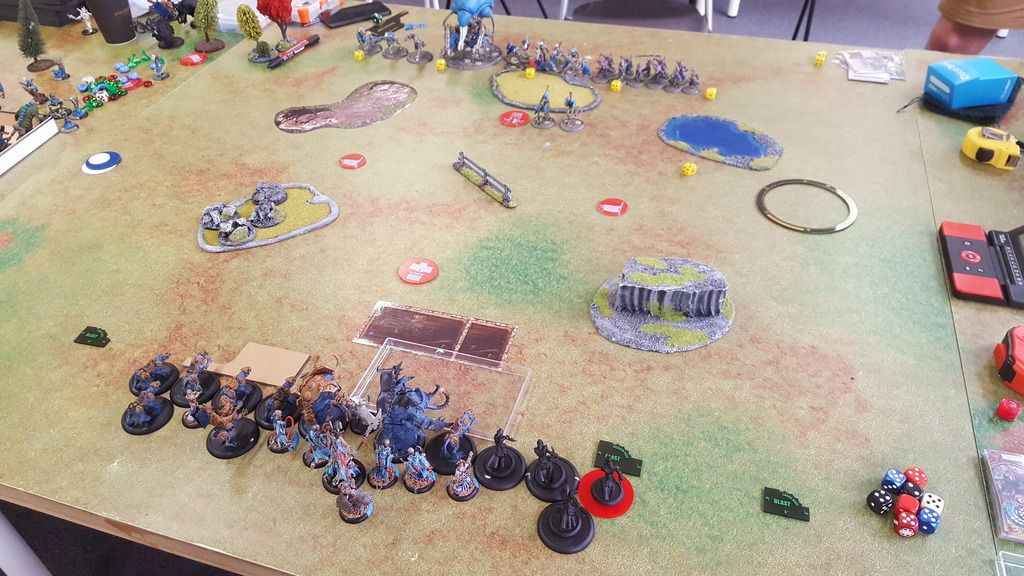
I got to go first again which i believe is very important in this match. The Stalkkers can put so much hurt on my ferox, and on feat turn they can pretty much take out one beast each. While being pretty safe from my retaliation. Mtop priority was then to get these two out of the game as quick as possible, to be able to play the same atrition game that won me the last battle. I deploy centrally again. My opponent have learned from last game and place the Kraken more centrally along with most of his army. Soulhunters on my left, Raiders on my right.
Game on!
I move everything up. Makes sure that i'm outside of the stalkers threatranges. I make a small mistake however when i forget to cast Storm Rager on Radheim. With that one up, he can easily take out a stalker on his own, even having the possibility to do it on Skarre's Feat Turn, which could be quite essential in this game.
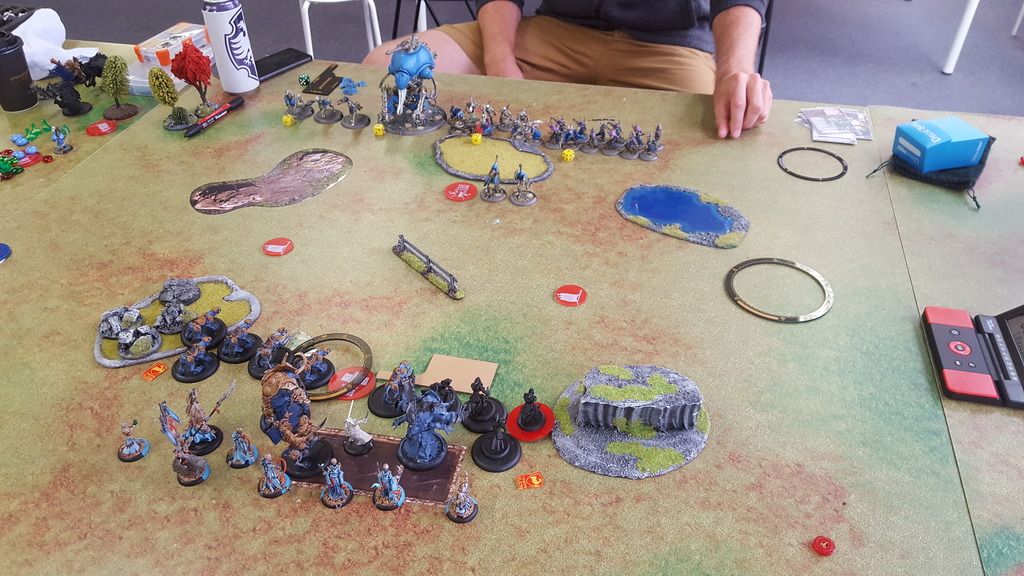
Cryx advances. He takes care to position his stalkers so that i can't really hurt them, while still making it really hard for me to contest either flag, as they can leap in no matter where i position myself.
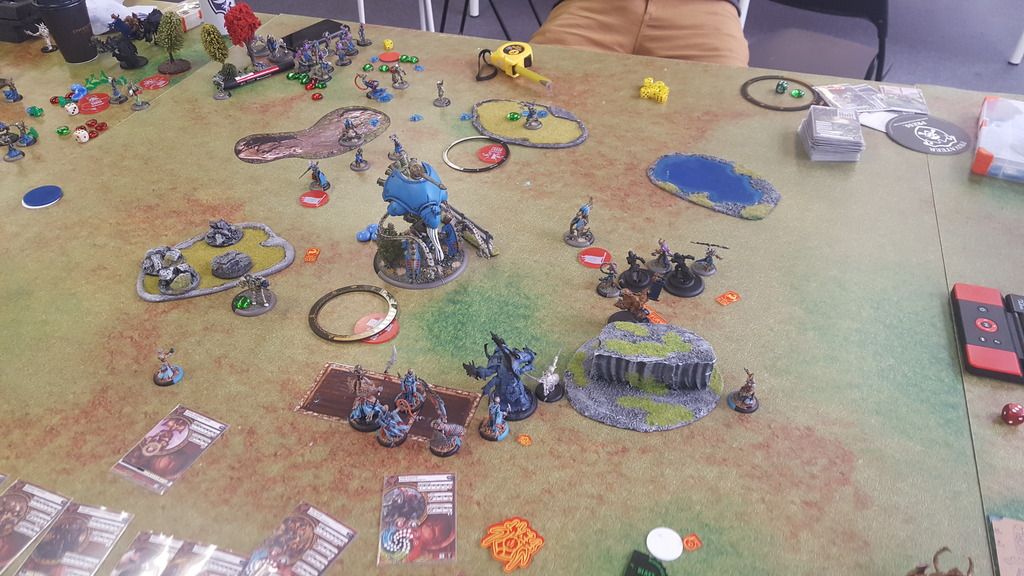
I'm faced with a tough choice here. I can either try to skew to one of the flags, trying to deal some damage and hopefully managing to survive his Alpha with enough guys to fight back after. Or i can hang back, try to avoid the offensive part of his Feat, letting him score on both flags, but forcing him to commit hopefully both stalkers to do so. The problem with the first option is that no matter which of the two flags i choose, he can get at least one stalker in to rid me of Tough and stay death, and the sheer volume of attacks he can pull off will leave me severely weakened no matter what. So i go for the second option. Moving slightly forward and to the right. One cat contesting each flag.
I make two HUGE mistakes however. Firstly i forget to measure if the left contester is outside of the Soulhunters threat. and i move the rest of the left unit a few millimetres too far forward, meaning that the Kraken can get into meelee with three of them. Then i decide to cast Storm Rager on Radheim, so that i can upkeep it next round when i expect to commit him to kill one of the stalkers. The problem however is that this leaves me on only 3 Fury for Stay Death Purposes, which would have been fine if had done my measurements better, but with the amount of atacks he can get in, i'm in deep trouble.
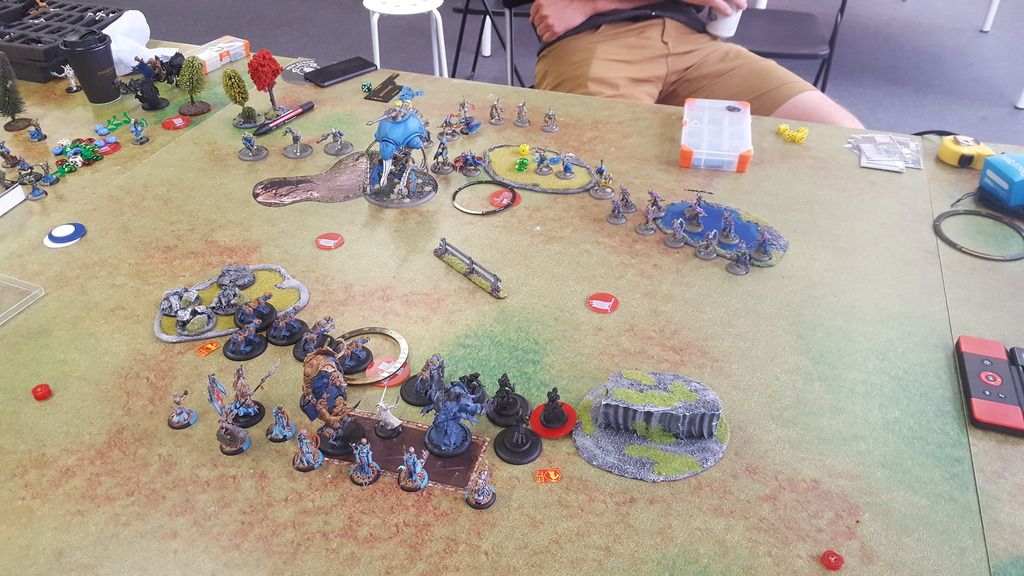
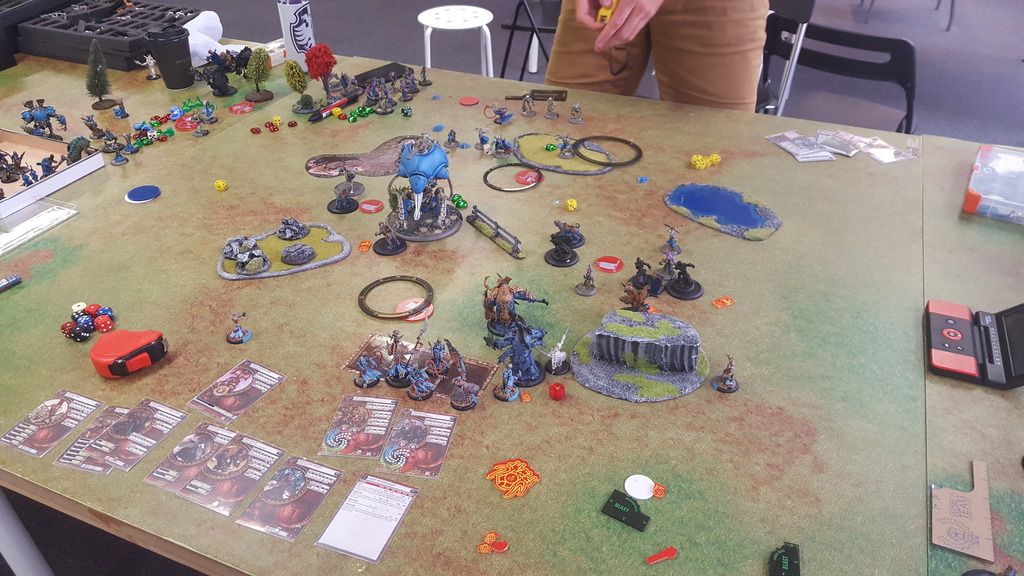
My opponent sees his opportunity and takes it. Skarre Feats on herself, both Stalkers and the Kraken, casts dark Guidance and moves into a better position. The Raiders charge my right contester and forces me to spend two fury to keep it alive ( i want it to live to force him to trade his Stalker for it if he wants to score.) I now only have a single Fury left, and the soulhunters strike, killing the left contester and moving in to score. The right Stalker kill my right contester. The Kraken then activates and charge in. I'm lucky and make a few tough rolls, so he "only" manage to kill two Ferox. This means that his second stalker can hang back and chill for another turn.
I forgot to take a picture after his turn, sorry!
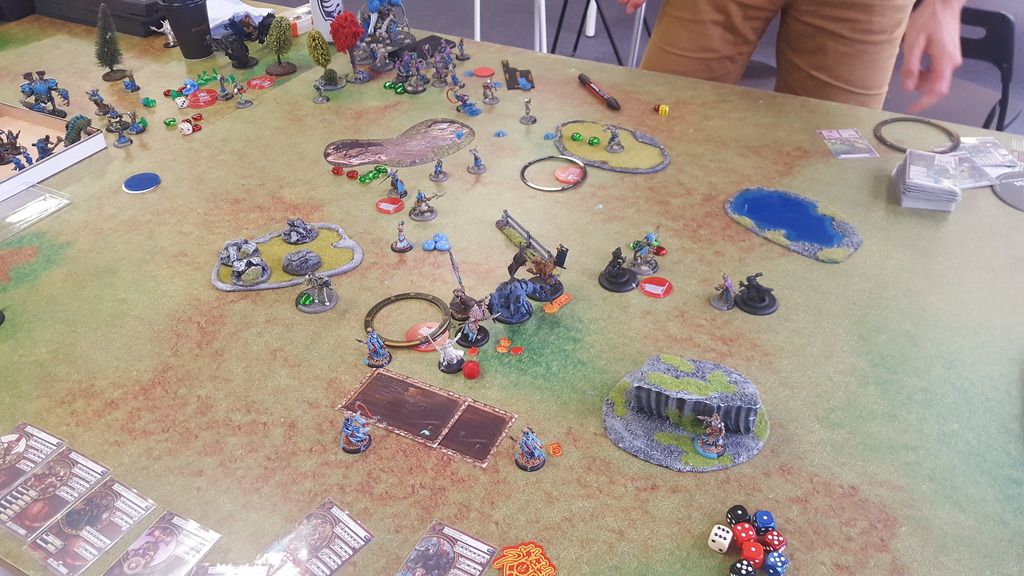
Ouch! I'm not really left with too many options here. My left flank is decimated, and he's standing pretty strong over on that flank with a Stalker, the Kraken and the Soulhunters. Skarre herself is also in a position to charge over there and some damage. Realizing that flank is lost i instead turn my focus to the right flank. If i can kill the Stalker and Raiders, i can start scoring myself, putting some pressure on Skarre. Then all i have to do is contest his flag, survive the next turn and then kill the remaining Stalker and the Kraken. That should be doable right?
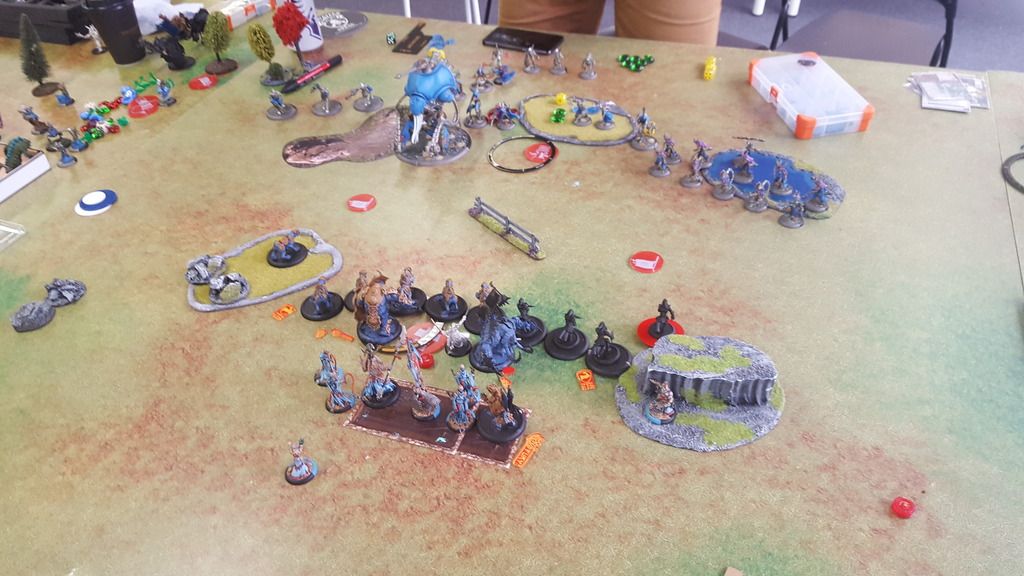
I really want makeda to help out clearing the Raiders, but she's unfortunatelly blocked in, and i need to activate either the Ferox, or the Gladiator first to fre her, and both of them really wants the feat so that they can hit the raiders more easily. So instead i activate the Tyrant, giving her Push to the Limit, and them move her to a safe position on the right and feats. The right unit of Ferox then proceeds to jump in and kill 7 raiders. I brainfart however, and the remaining 4 is out of the gladiator's reach. Radheim charge the Stalker and one shots it. The Gladiator moves over to Makeda to get away from the Kraken. There's pretty much no way for me to get the Sentry to safety without leaving him completely out of the game, so i move him over tostand a bit in the way. In hindsight, i probably should have moved him in to contest the flag as well. The two remaining ferox on the left charge the soulhunters and kills two, then repositions to contest and try to stand a bit in the way.
Skarre charges the closest Ferox and murders it. The Stalker jumps in and kill two Ferox, and the The remaining soulhunter charge the last Contesting Ferox and repositions a bit to threaten my objective, then goes incorporeal. The Kraken kills the Sentry, but leave the Objective alone (had he destroyed that instead he would have moved to 4-0 leaving me with severe troubles the following turn.)
My options getting more and more limited, i move to kill the Kraken. The Gladiator, Tyrant and Radheim does this perfectly well. The last remaing Ferox kills a couple more Raiders and puts a small dent in the Stalker. Willbreaker Runs over to contest. "All" i have to do now is have my objective survive his next turn, and i should be good to go.
However, Skarre have different plans. She gets six extra focus from Ritual Sacrifice, kills the Willbreaker, then Boosts two Hellfires onto the objective. She rolls way above average on the damage, and my objective goes down, letting her move to 5-0 for the Scenario win
Victory to Cryx!
Post Battle thoughts:
The mistakes i made in my second turn clearly cost me the game here. With the added Fury to keep things alive, forcing him to commit both Stalkers, and with two more Ferox on the left flank, i should be much more capable to play for atrition. My opponent played really well here, even though he didn't go for the T3 attack on my Objective to close out the game even easier, he had pretty good control on the match. The Match-Up is most definatelly playable, as long as i keep myself from making simple mistakes like i did here.
No comments:
Post a Comment