But to do that i need to get as much practice in as possible! Makitties (trademark) will probably be my main drop, she just plays so good into a very wide variation of match ups, and is a real hard counter to pretty much every single problematic control caster out there (Wormwood, Coven, Haley2 etc.) So given my limited time to practice, i will probably dedicate most of my time to her. Starting with another control/assasination specialist. The dreaded Pop and drop! How will our first lady fare against the fanatic? Read on!
Lists:
My list:
Supreme Archdomina Makeda WB+24
- Titan Gladiator - 14
- Titan Sentry - 15
Tyrant Radheim - 9
Morthieurge Willbreaker - 4
Morthieurge Willbreaker - 4
Tyrant Commander and Standard - 6
min Paingiver Beasthandlers - 5
Max Praetorian Ferox - 21
Max Praetorian Ferox - 21
Objective: Fuel Cache
His list:
High Exemplar Kreoss WJ+29
- Hierophant - 3
- Revenger - 10
- Repenter - 8
- Crusader - 10
- Vanquisher - 17
Wrack -
Wrack - 1
The Covenant of Menoth - 4
Rhupert Carvolo, Piper of Ord - 4
Vassal Mechanik - 1
Exemplar Errant Seneschal - 4
Choir of Menoth max - 6
Daughters of the Flame - 10
Exemplar Errants max - 16
Knights Exemplar - 9
Pre Battle Thoughts and Deployment:
So, what do i have to be careful of? With all of his shooting and infantry, he can get of a great amount of attacks, meaning that he can potentially break through the Tough/Stay Death wall if i allow him to get to a lot of my models at once. I would have to try and limit him a bit, maybe trying to hem him in a bit. His Feat does pretty much nothing against me as pretty much everything is Steady, and Makeda can even stand so far back that she might be outside of Feat unless he really expose Kreoss,
My main goal was to go for Atrition, with the possibility of Scenario if the opening presented itself. With this list Atrition is often the way to go i believe. The list grinds exeptionally well, And if i play fast enough i can put a real time pressure on my opponent as well, all the angles the Ferox creates, and the time it takes to try and remove them takes a lot of time from the opponent.
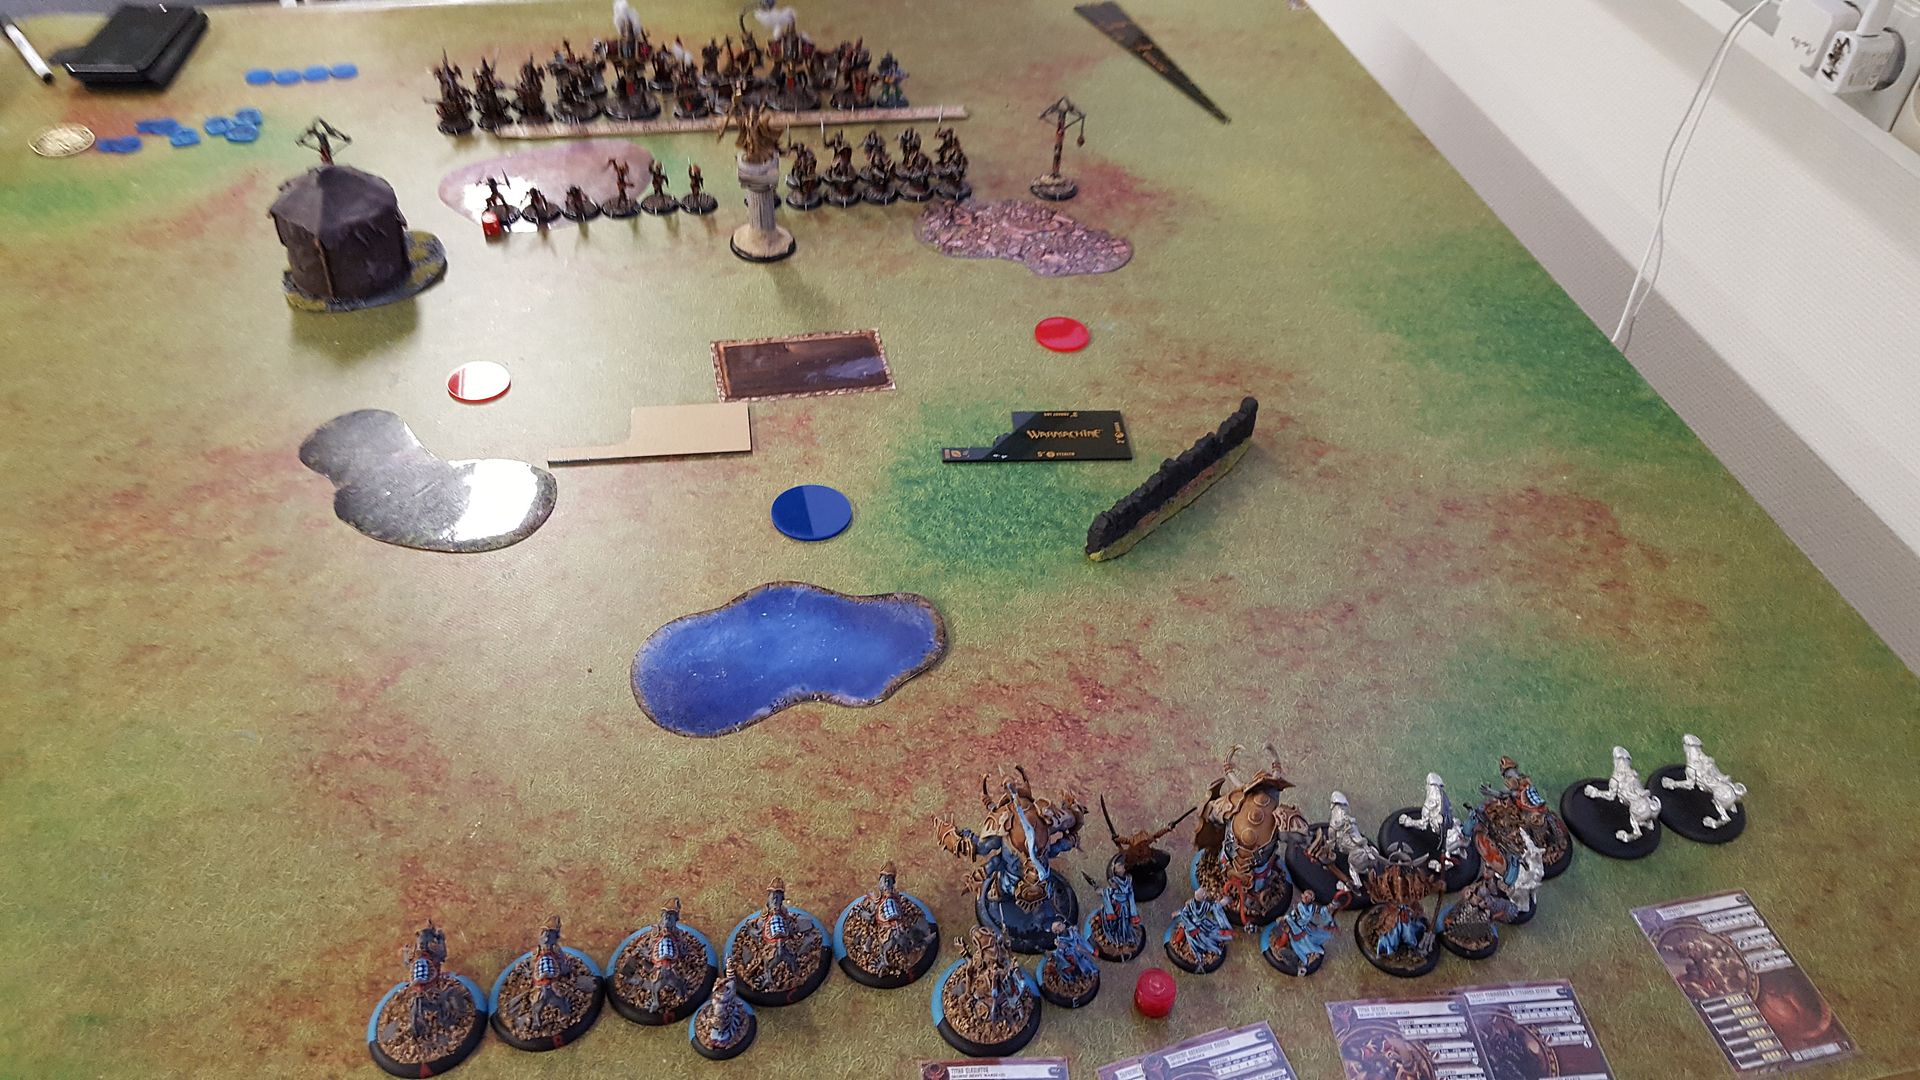
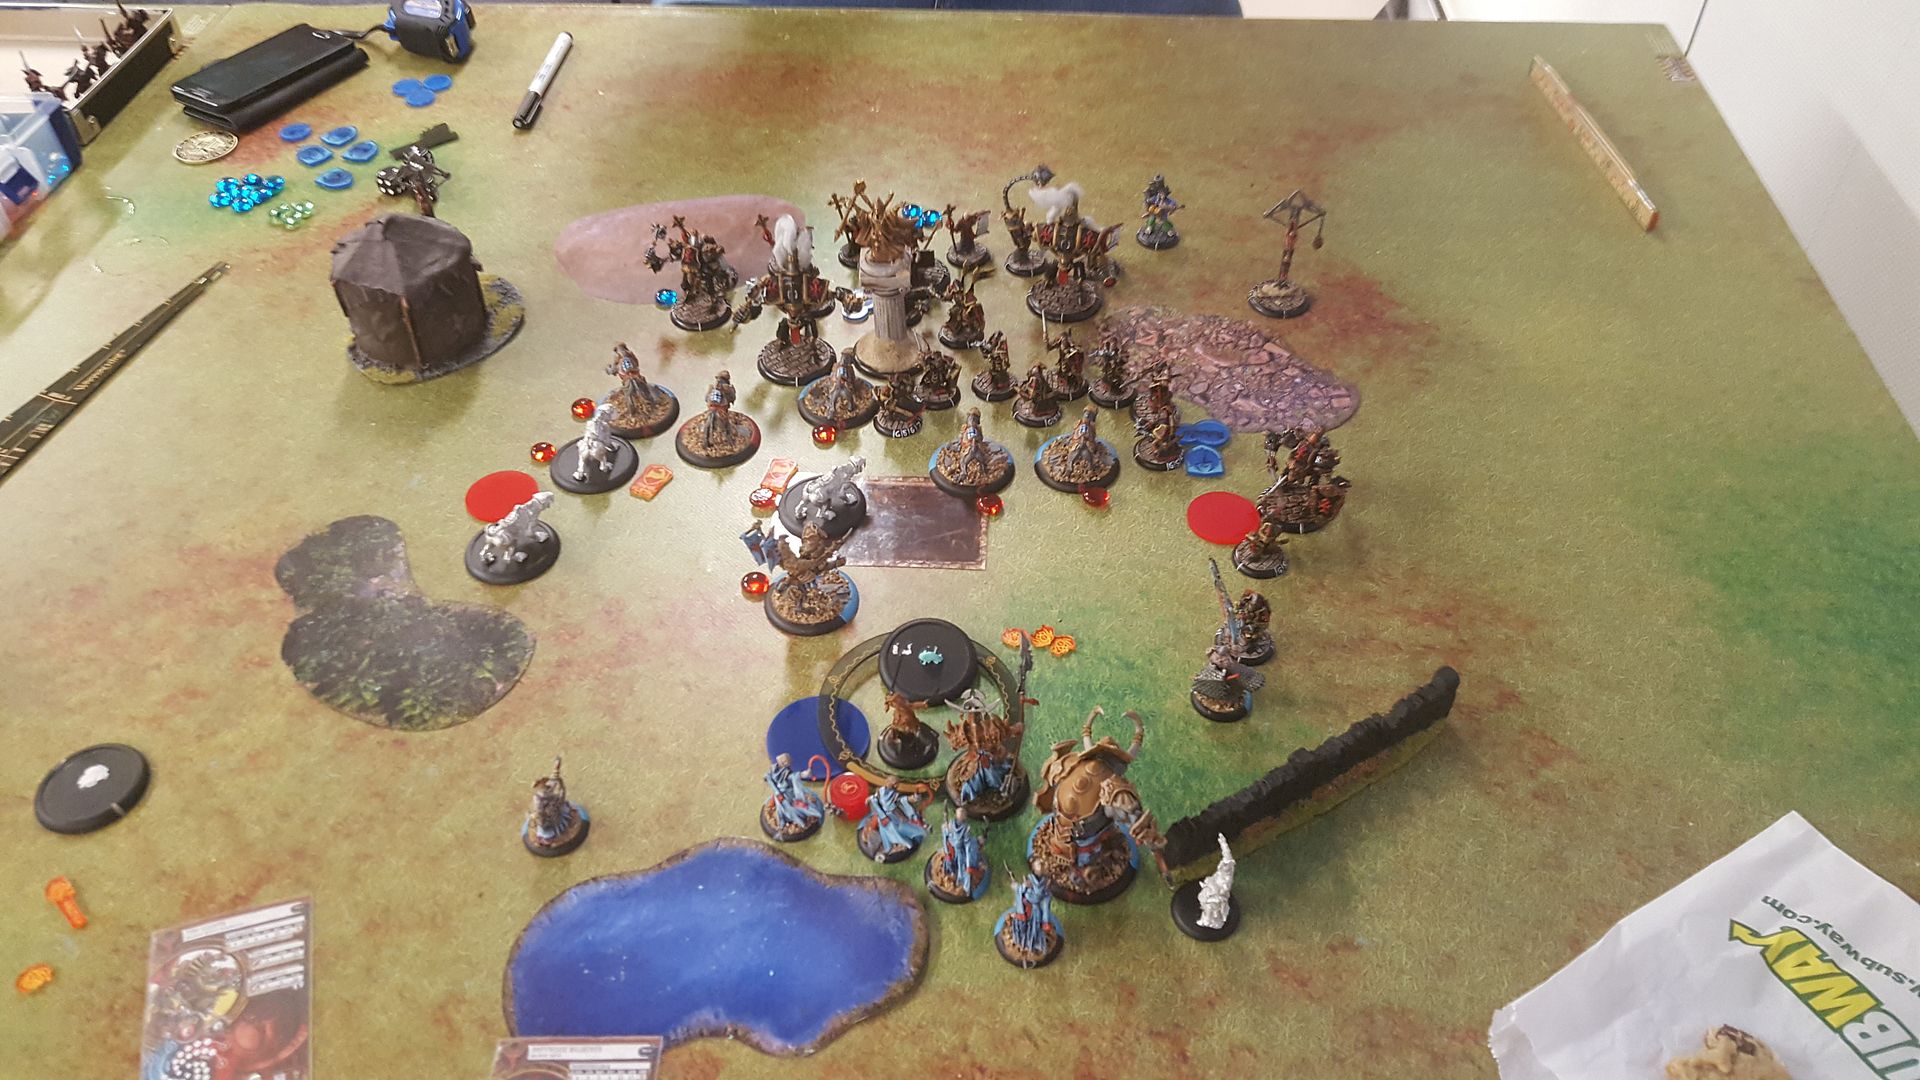
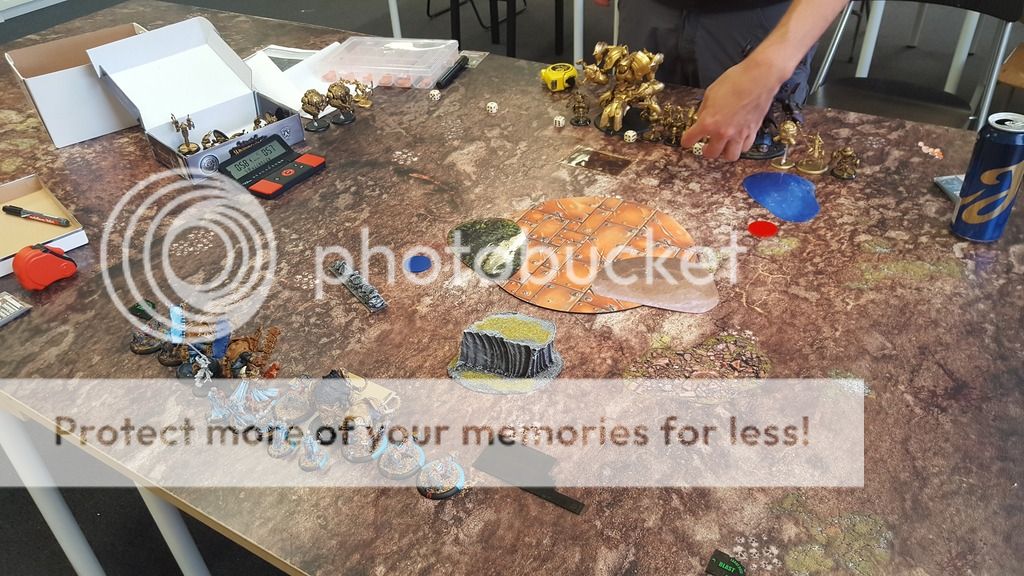
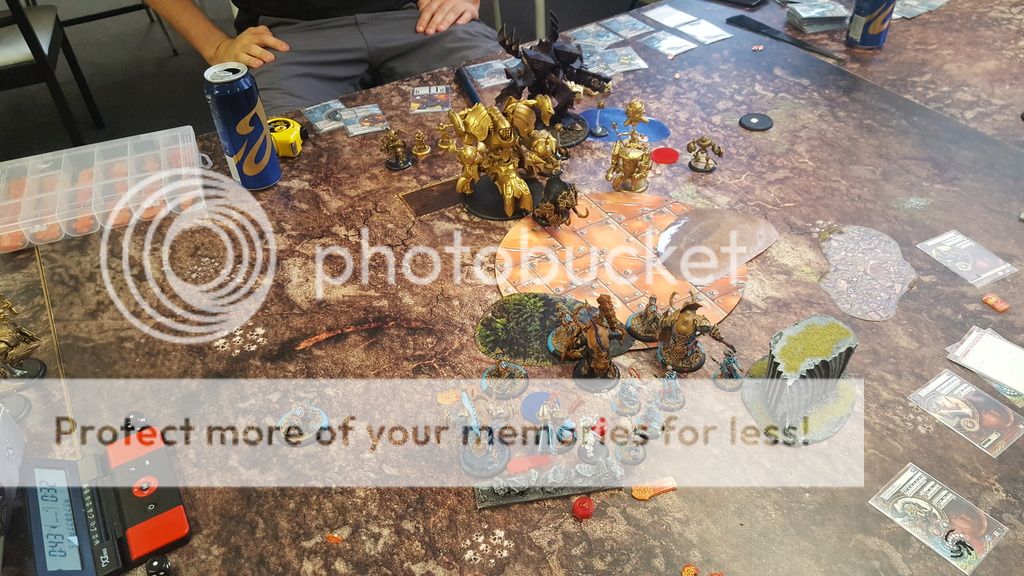
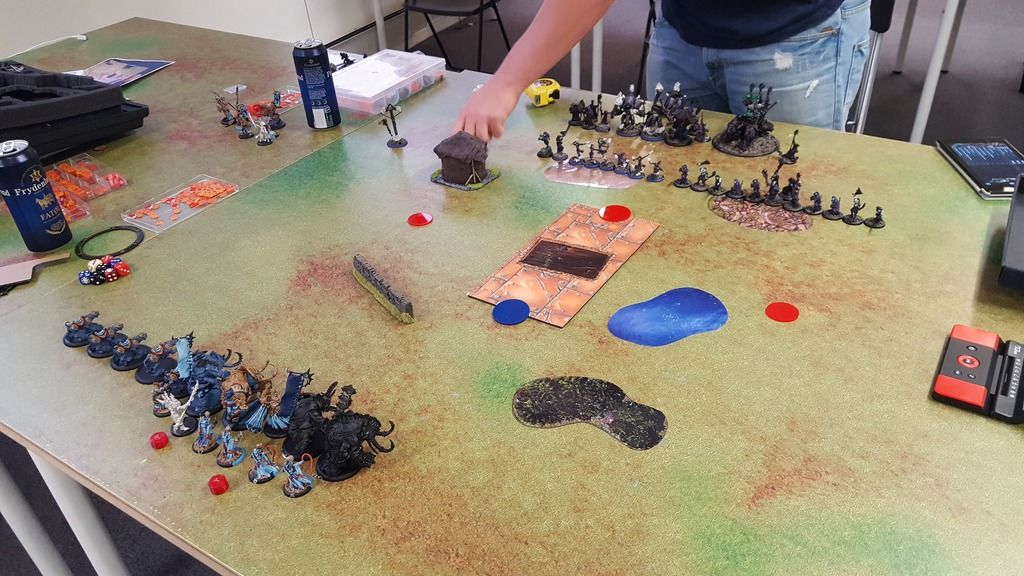
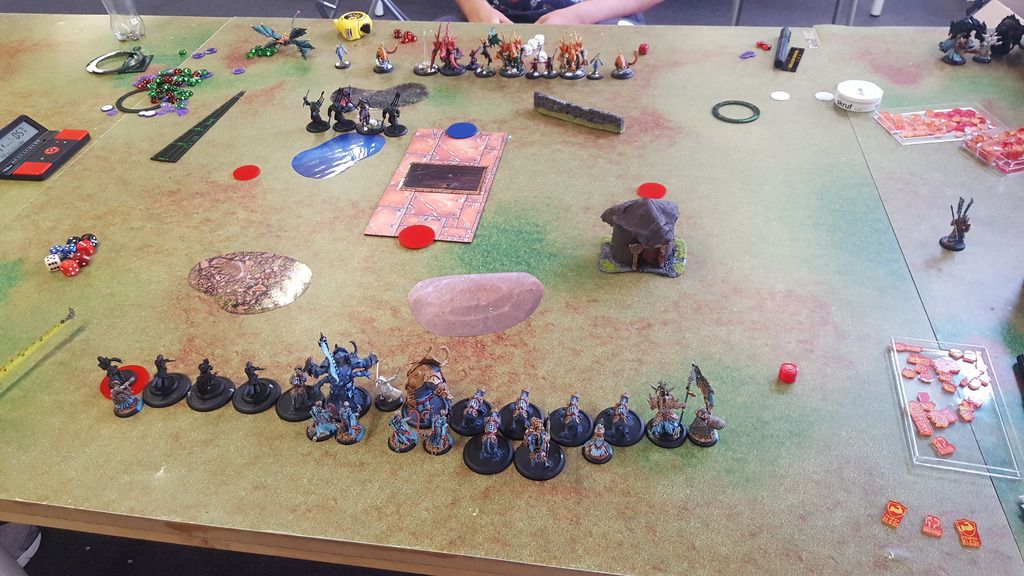
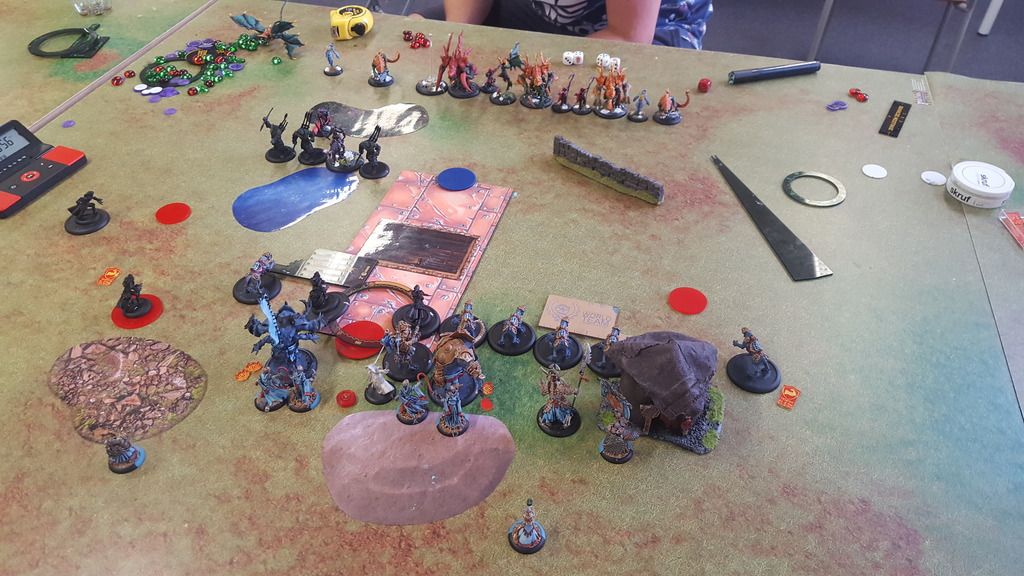
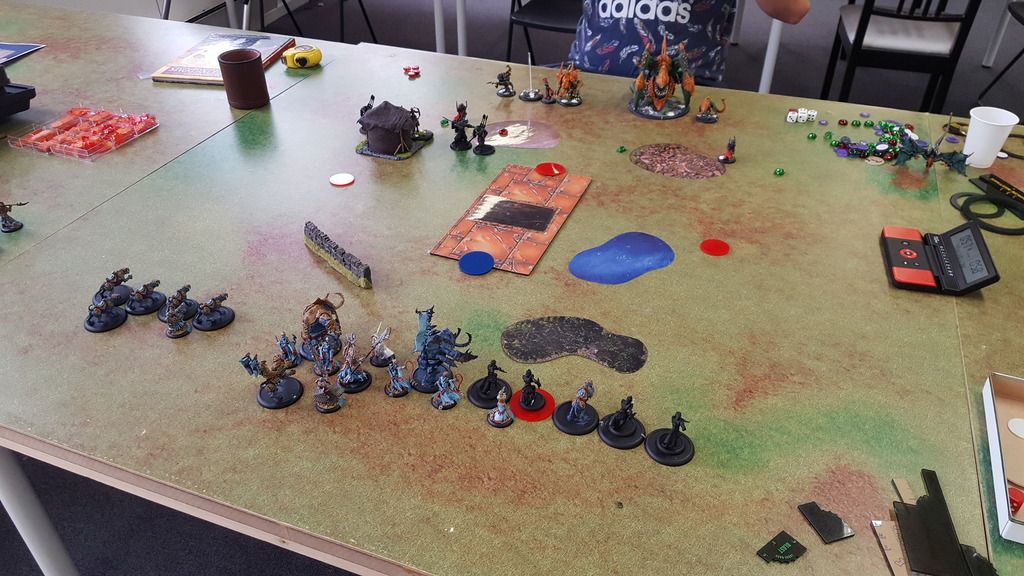
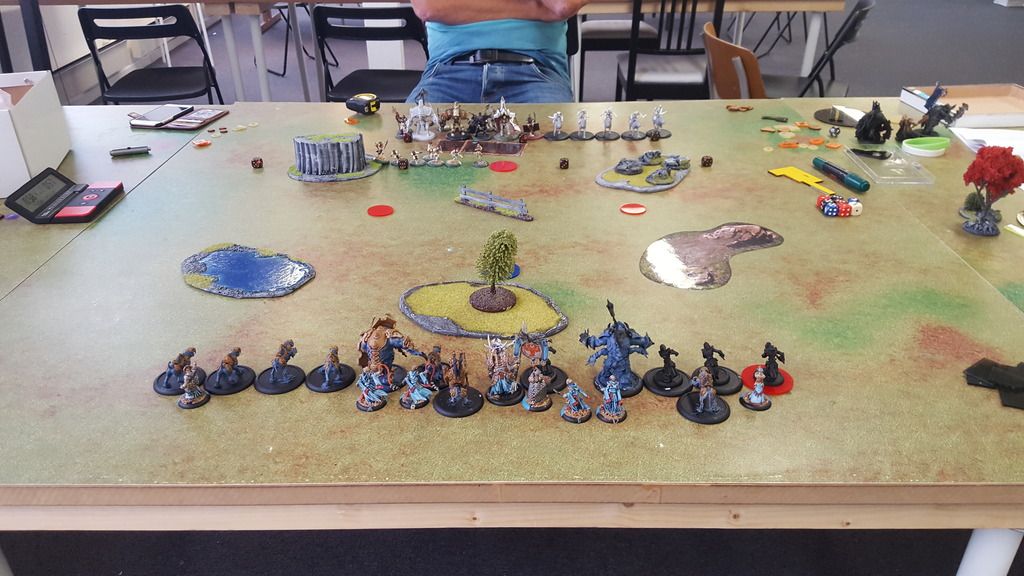
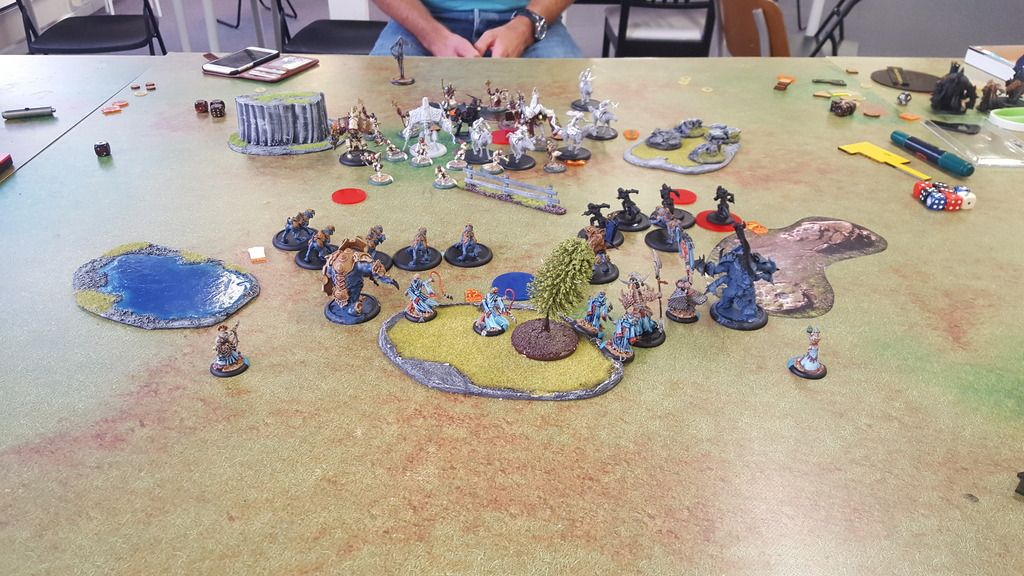
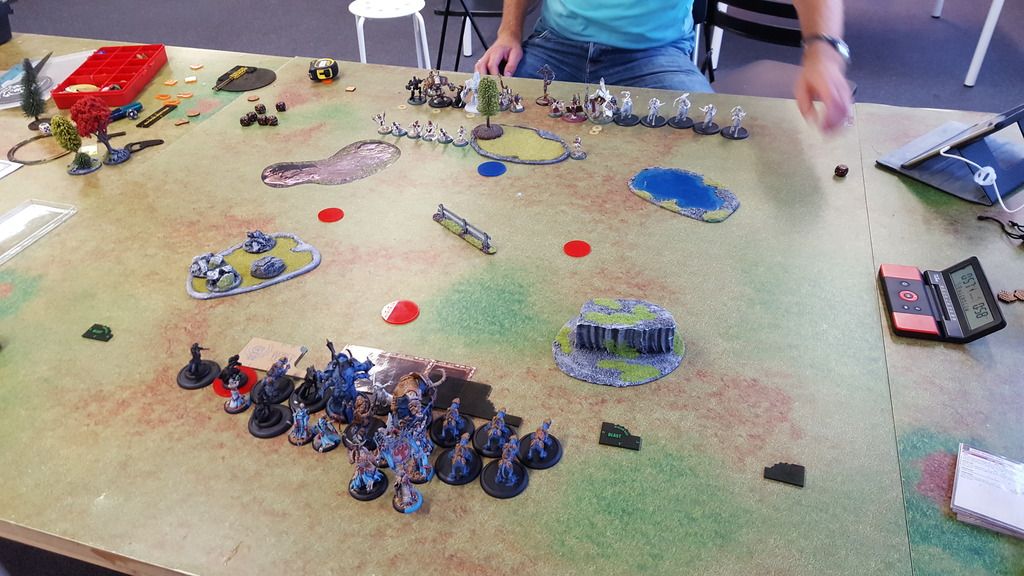
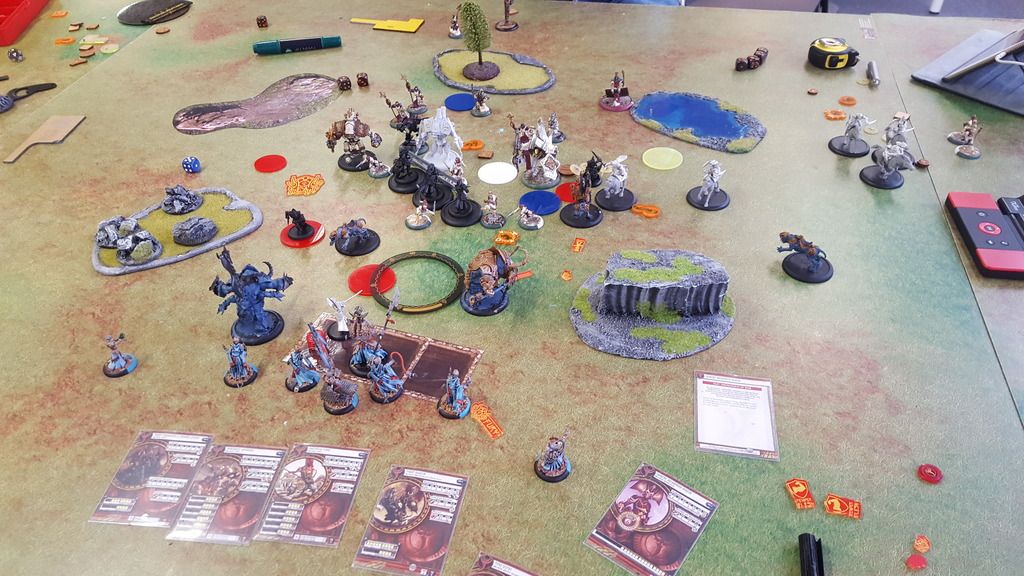
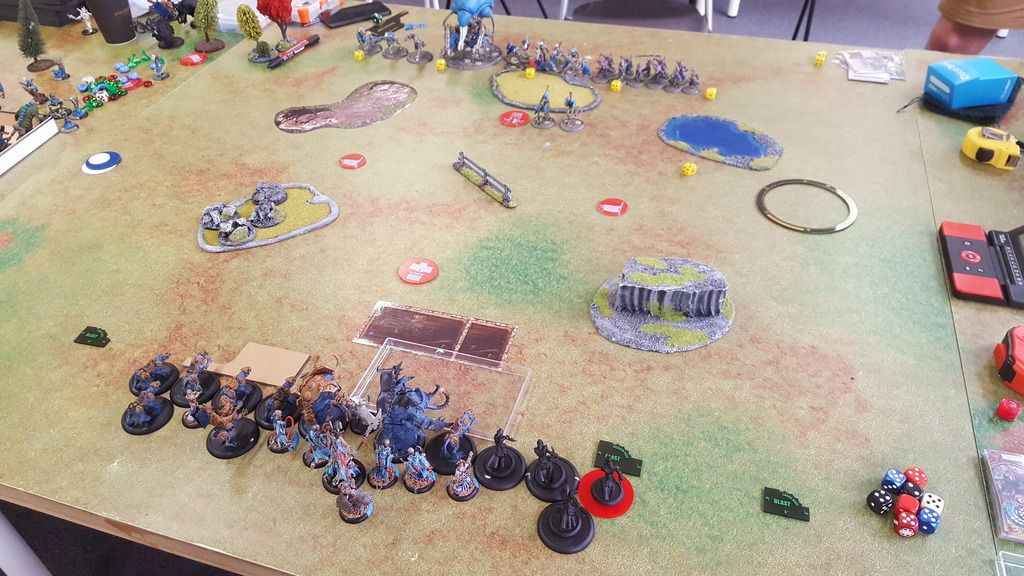
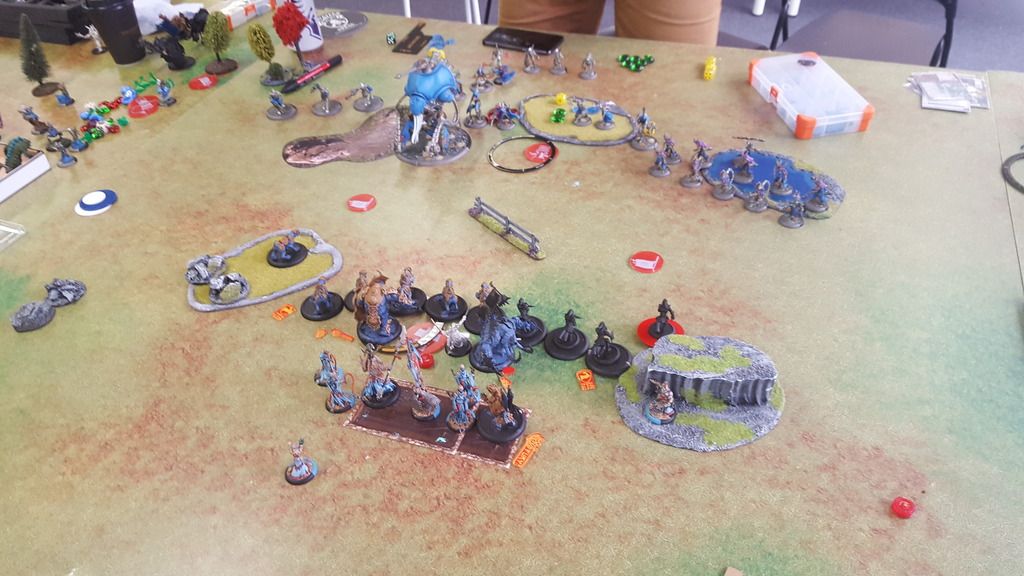
The scnario was Extraction and i got to go first! I Deployed in my usaual central position with Ferox on either flank. The extreme speed of the cats means that i can easily shift from one flank to the other if the need arises. Protectorate deploys centraly as well, The AD elements directly in front of the rest. Game on!
The central positioning of my opponent means that there's harder for me to force my way on Scenario. If he had skewed to either side, i could move to the opposite one with makeda and block him out with a wall of Ferox. I know that Errants can be a real pain to remove (Self Sacrifice can be a real pain, and Defenders ward doesn't make the job any easier.) Three of his Jacks is standing behind them as well, so if i can make a frontline and jam them up early, i could create a real traffic jam, making it much harder for him to get them into play.
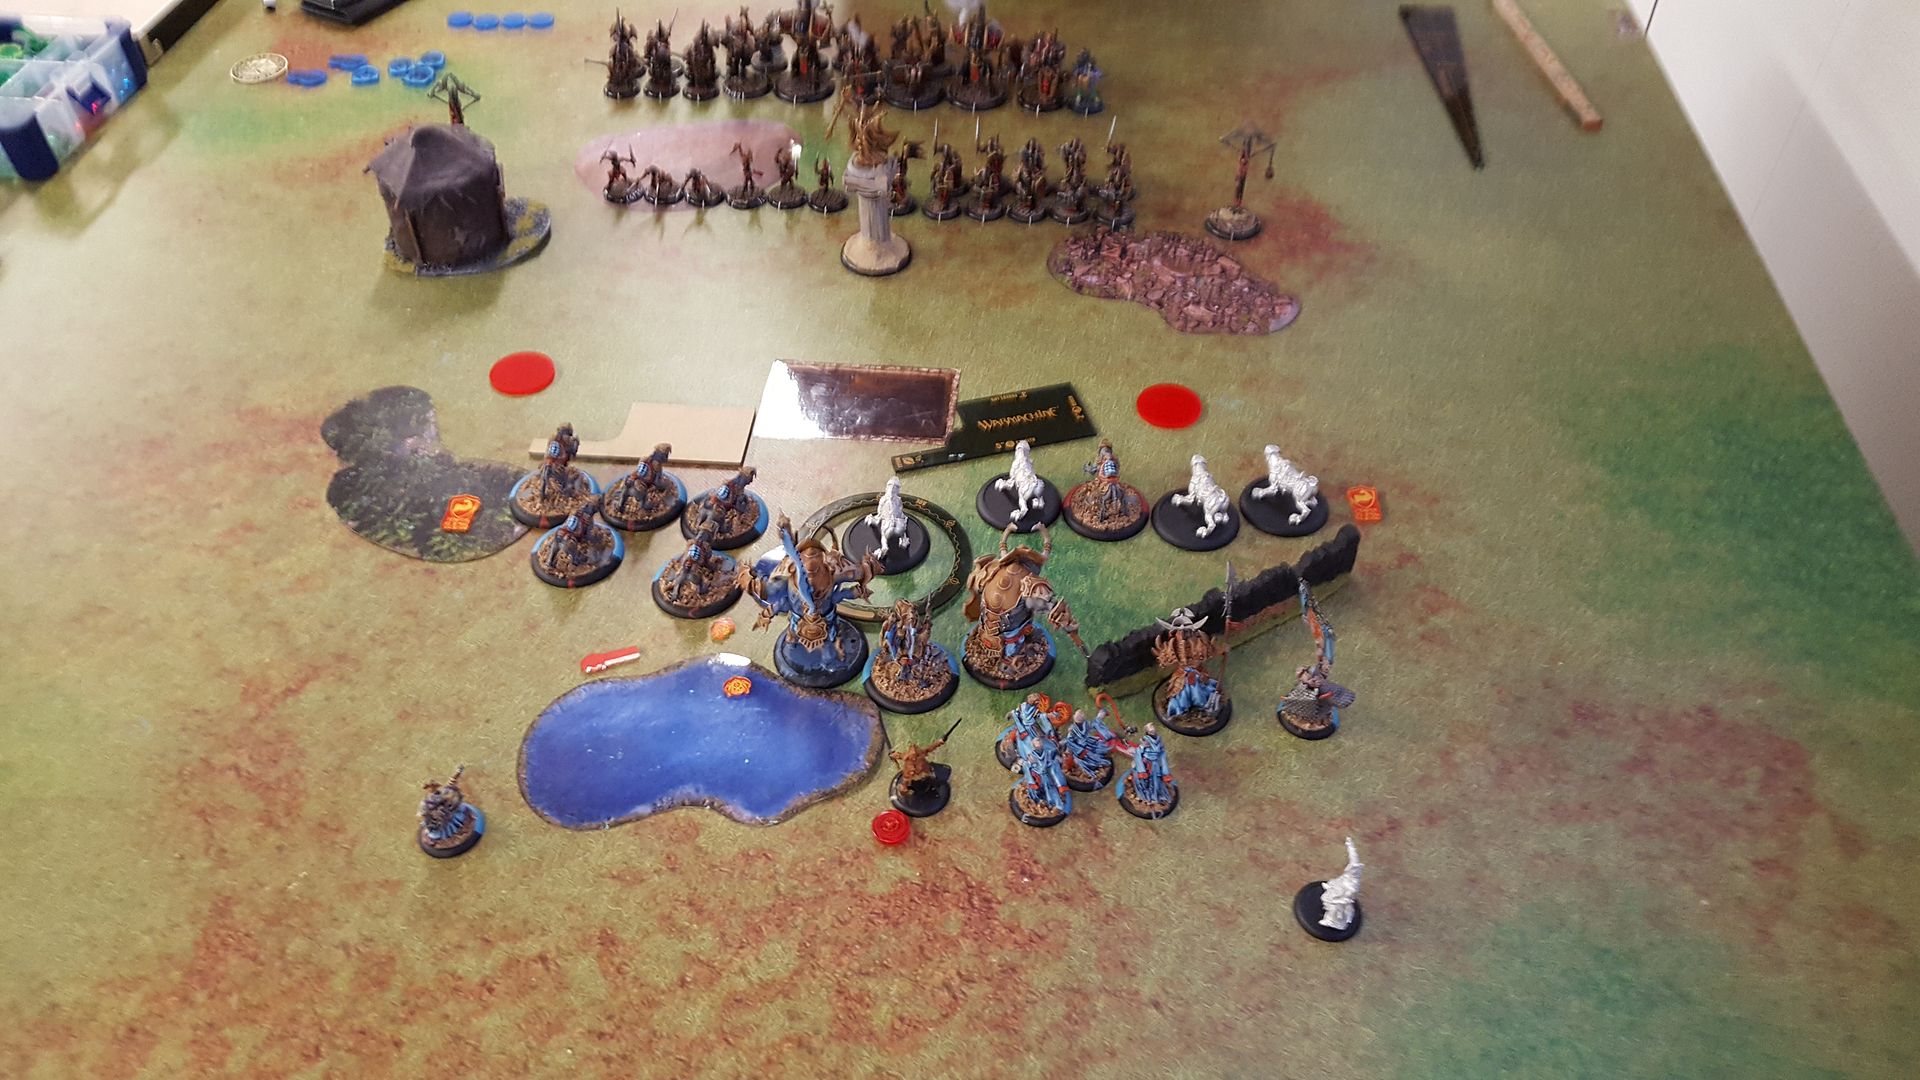
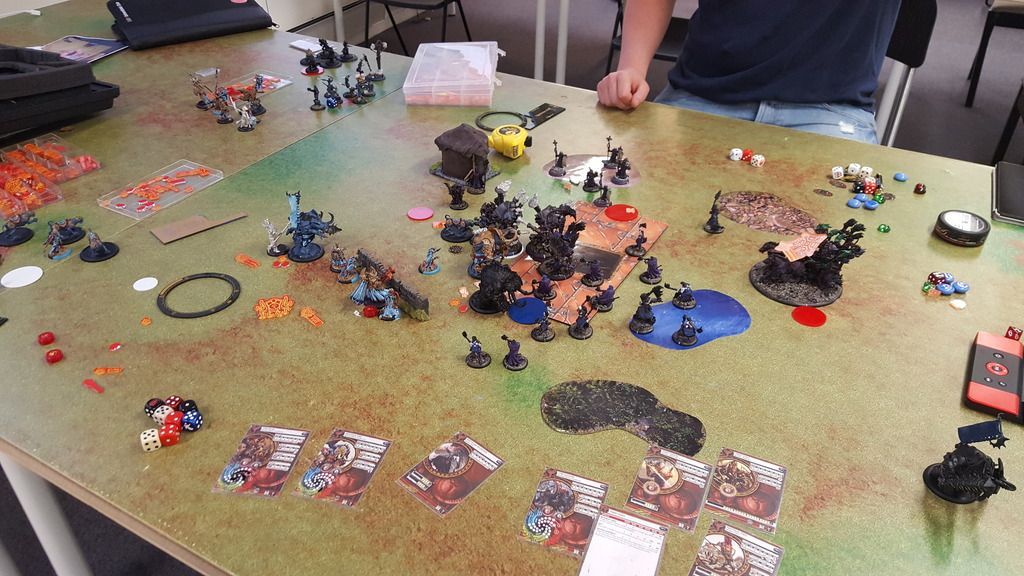
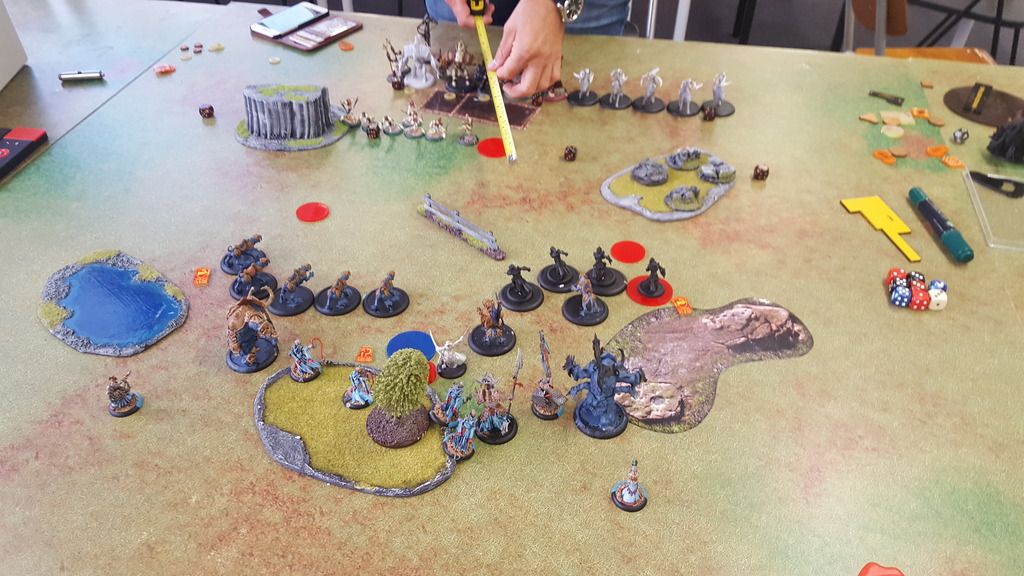
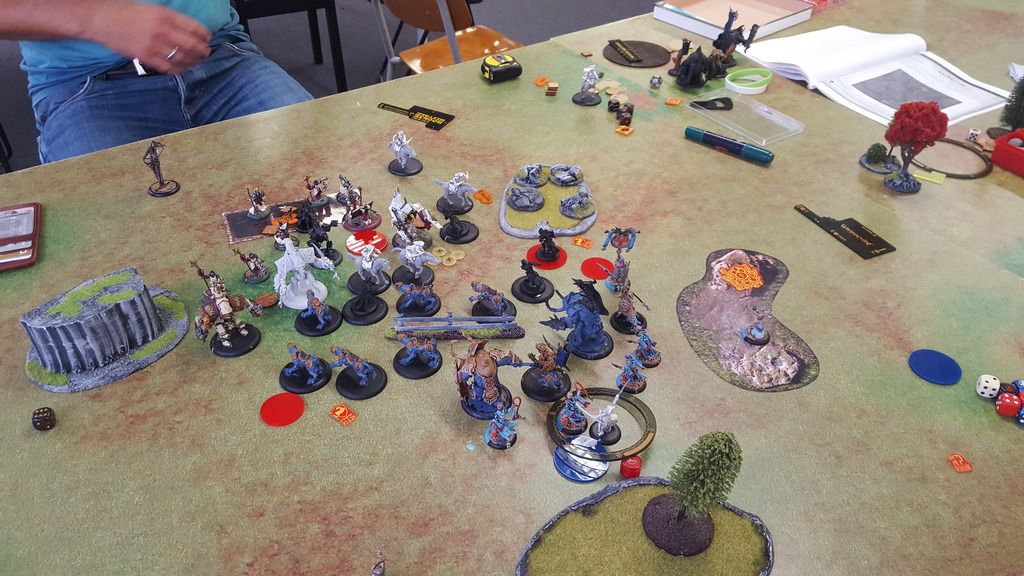
Plan made i Rush both Beasts and run everything up pretty much as far as possible. Note how i use the measurement tools to mark his charge threats in the picture below. Premeasuring is an incredibly useful tool to have, and you should really use it to your advantage, Marking planned moves with proxy bases and checking if all your plans are possible before moving! It removes most of the problem of realising halfway through a turn that the things that you had planned is impossible.
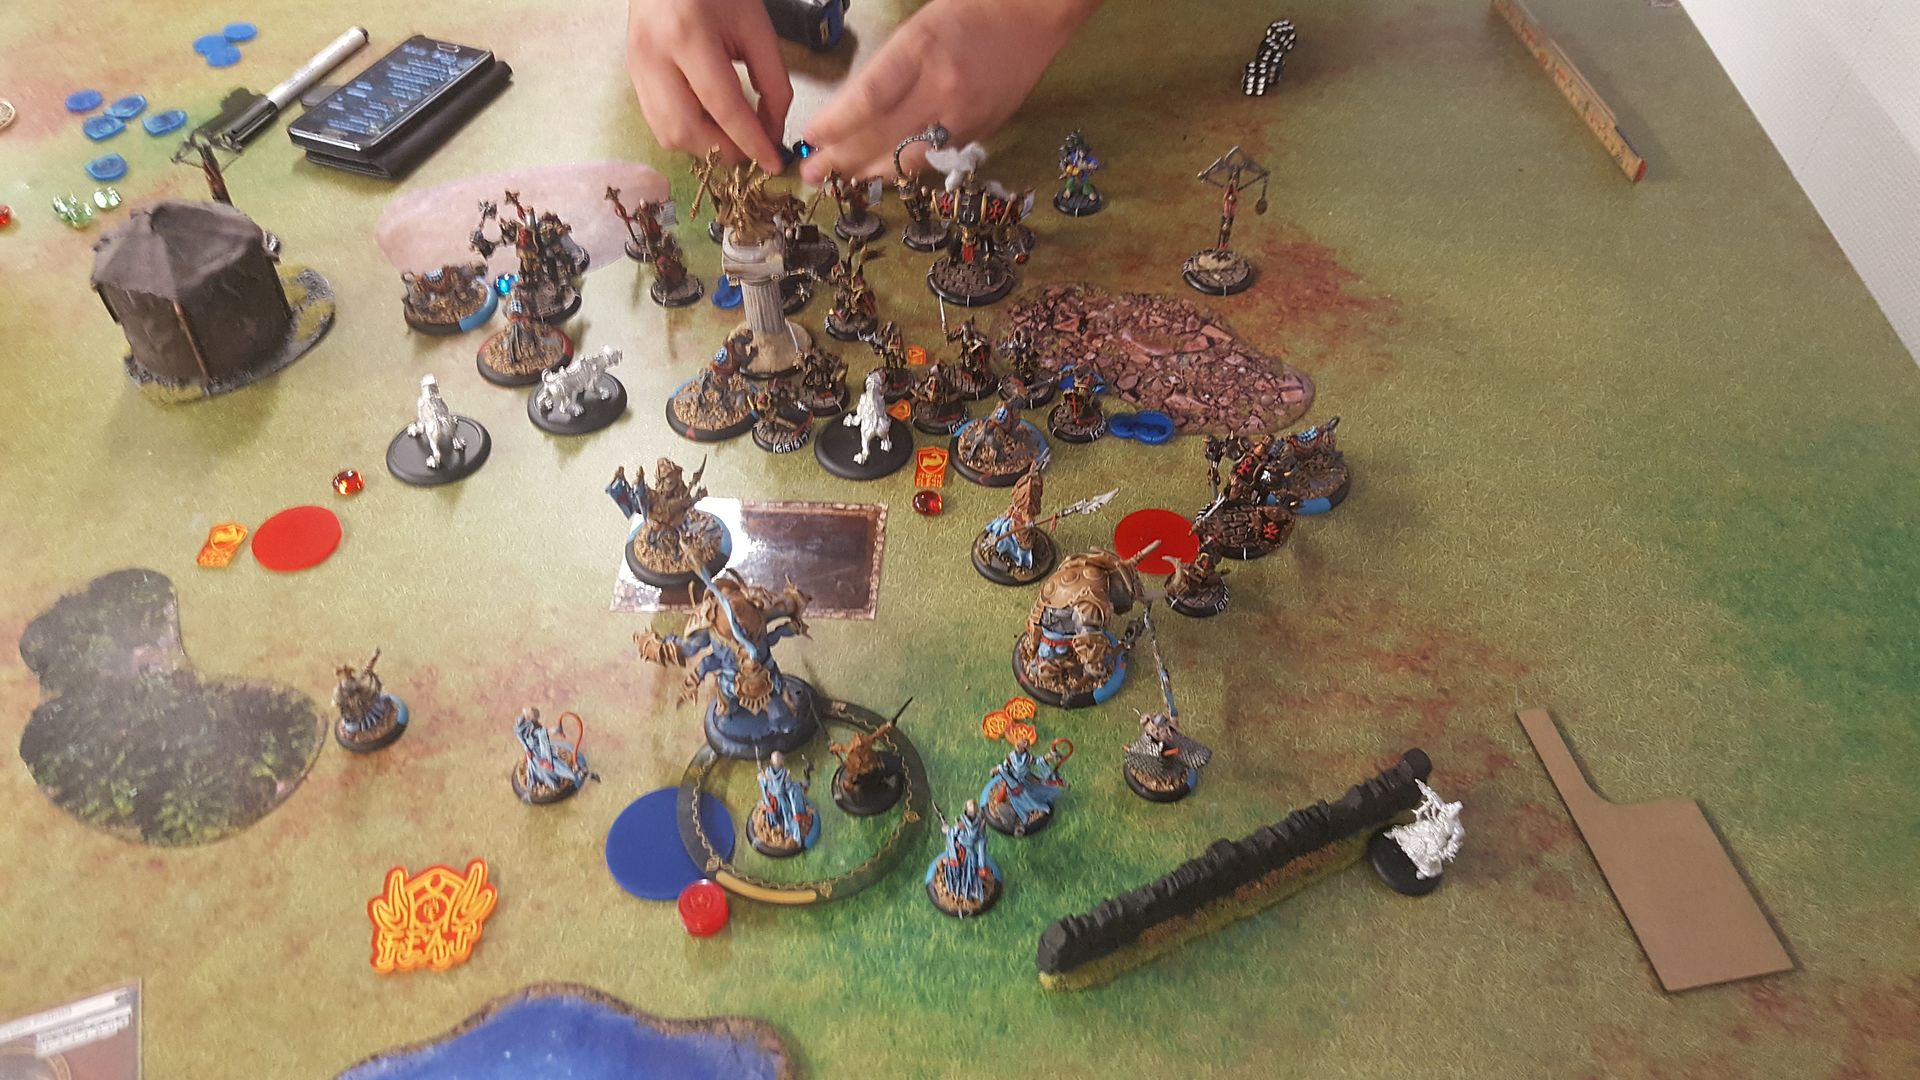
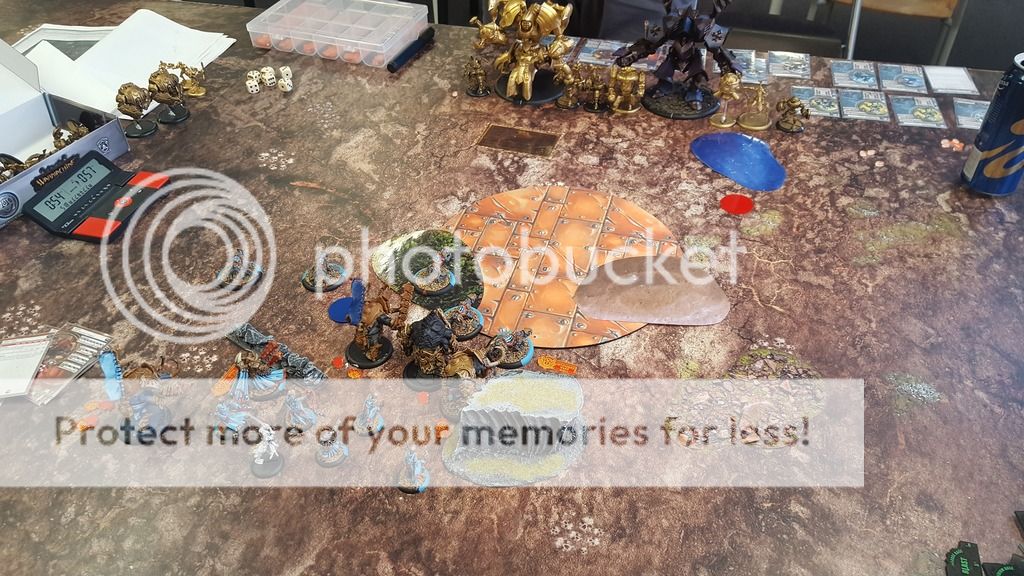
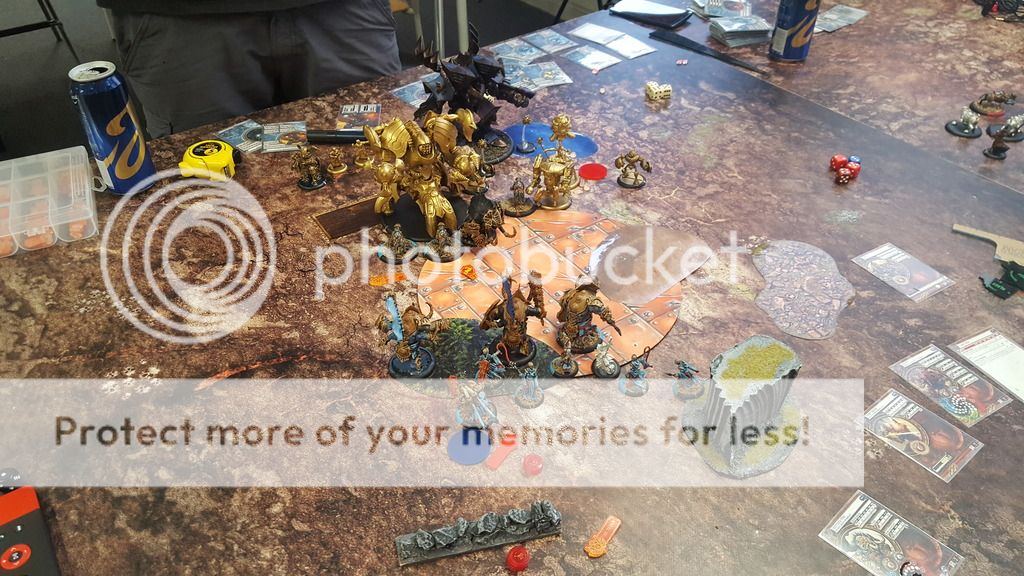
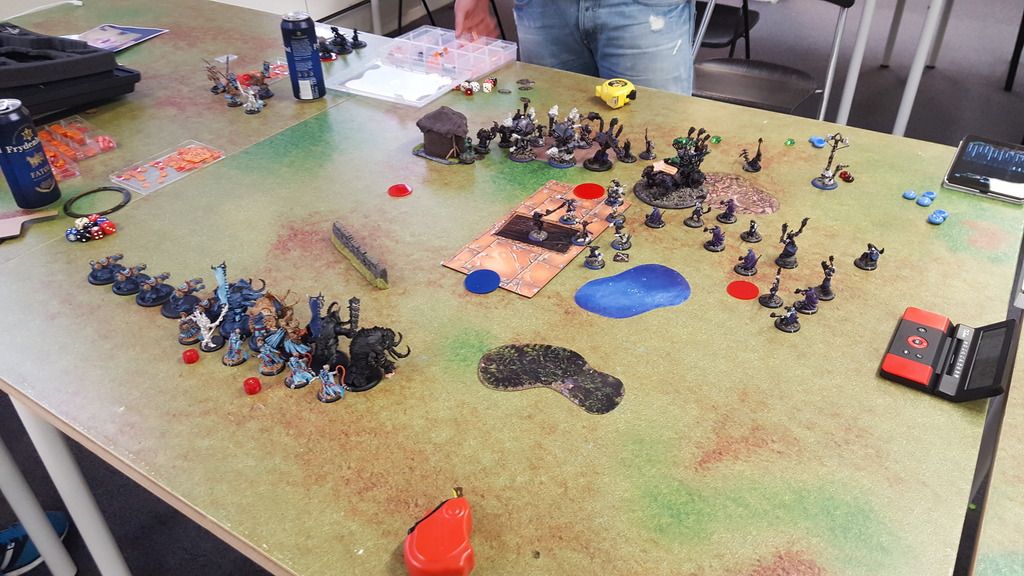
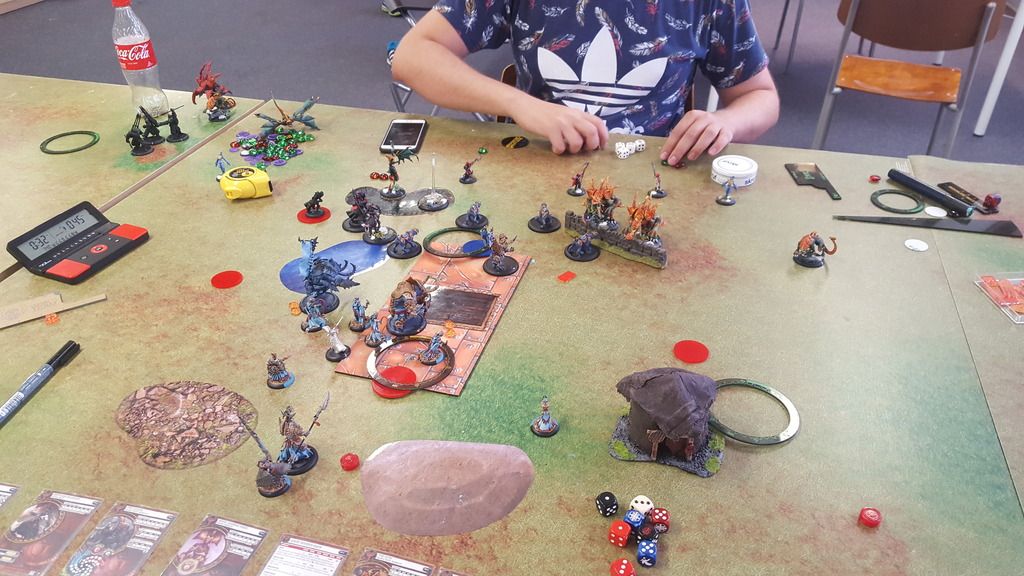
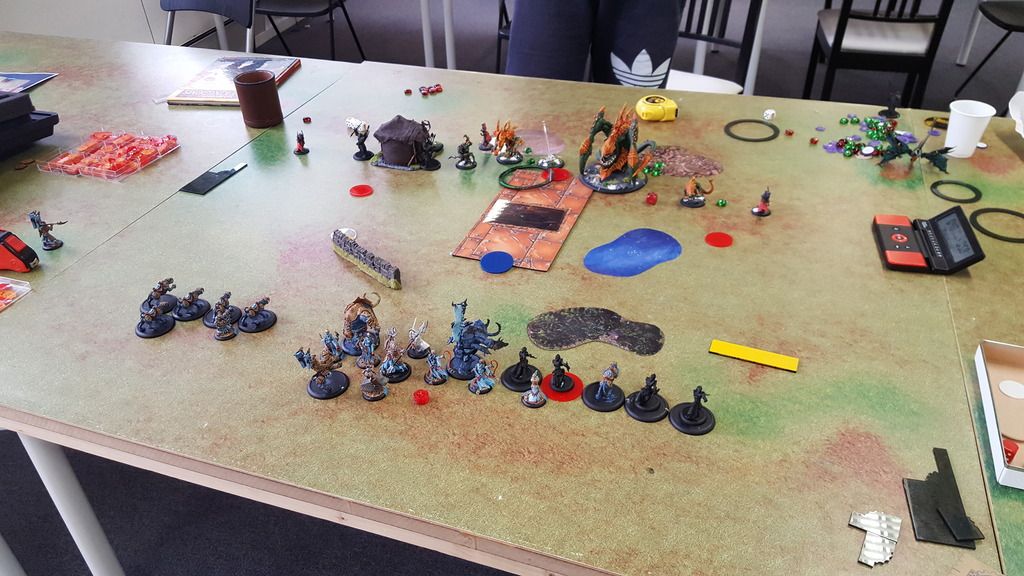
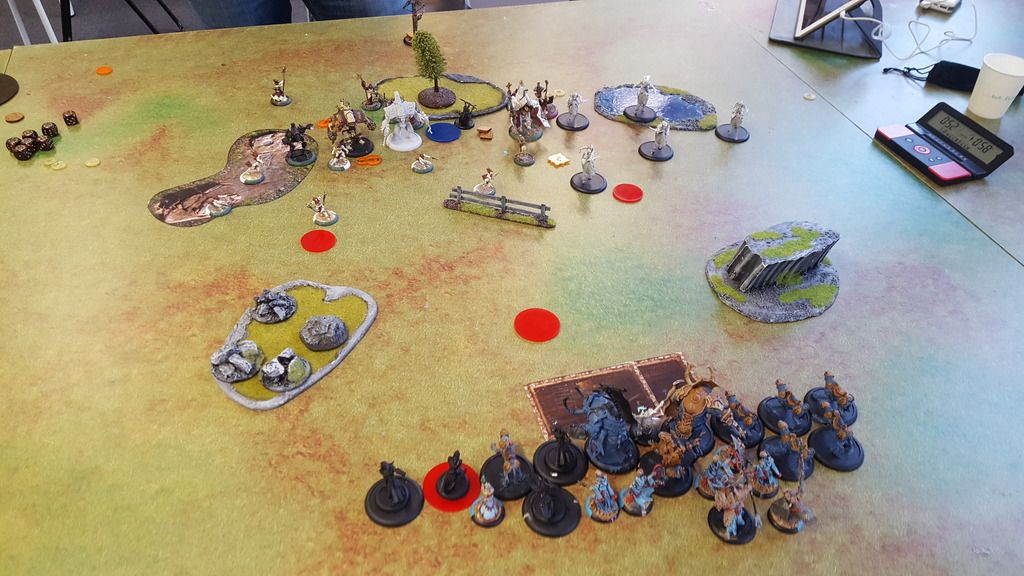
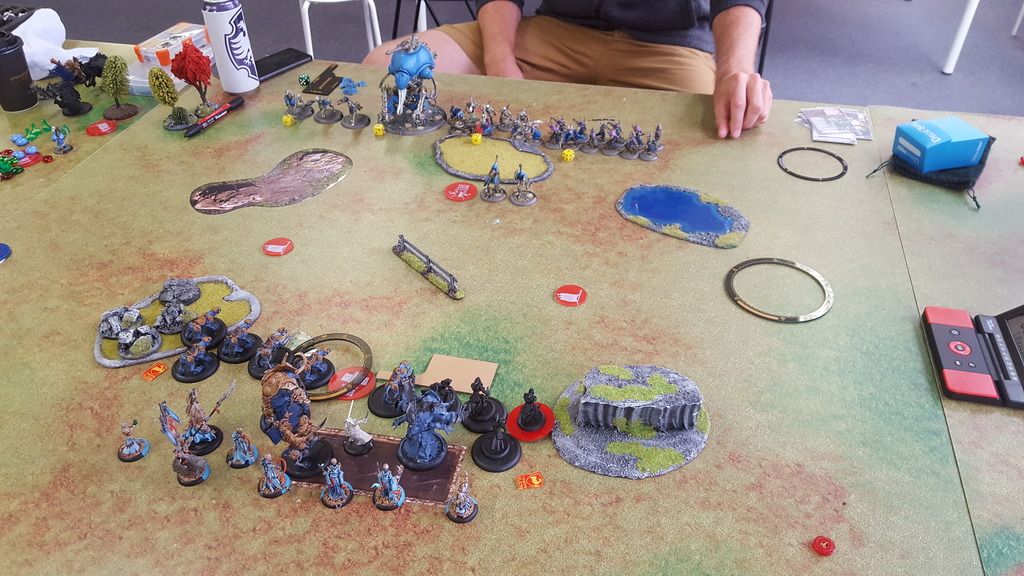
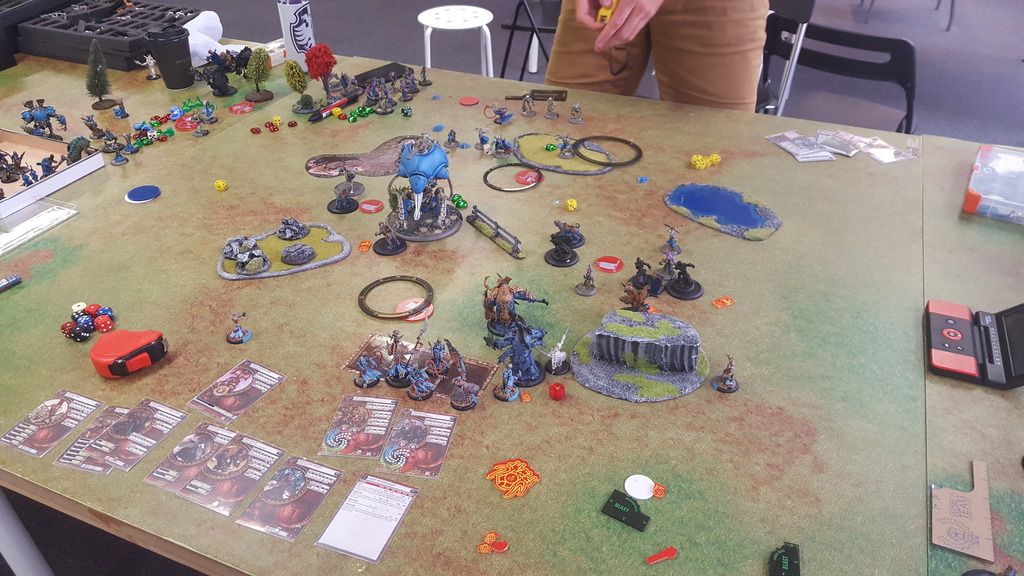
Protectorate moves up. He realize that there's pretty much nothing he can do about my threat ranges anyway, so why hang back? Daughters run to Jam left Ferox, Errants shoots and kill one Ferox on the right ( i only had enough Fury for 2 Stay death as i rushed both Beasts last turn (Probably wasn't necessary in hindsight))
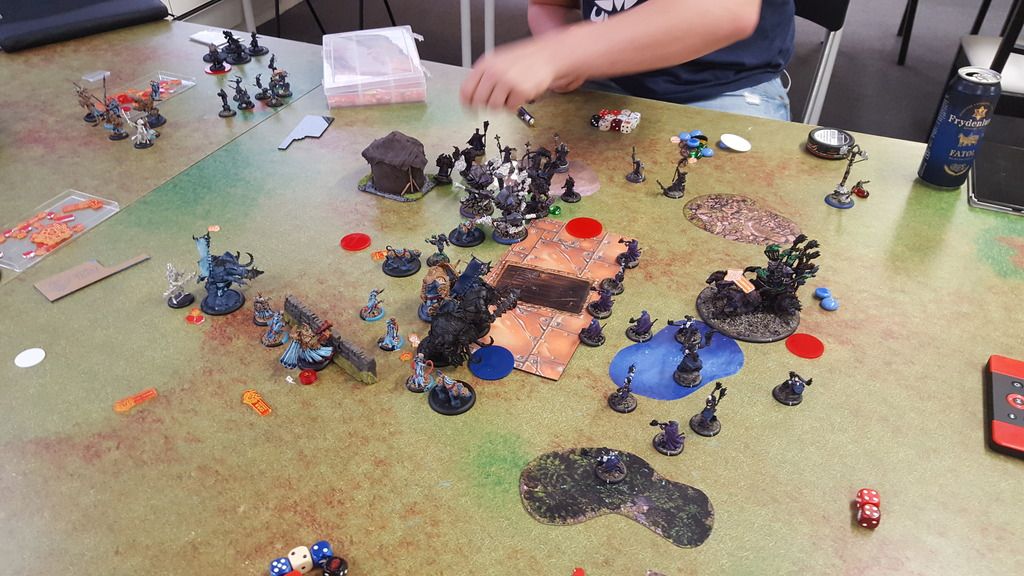
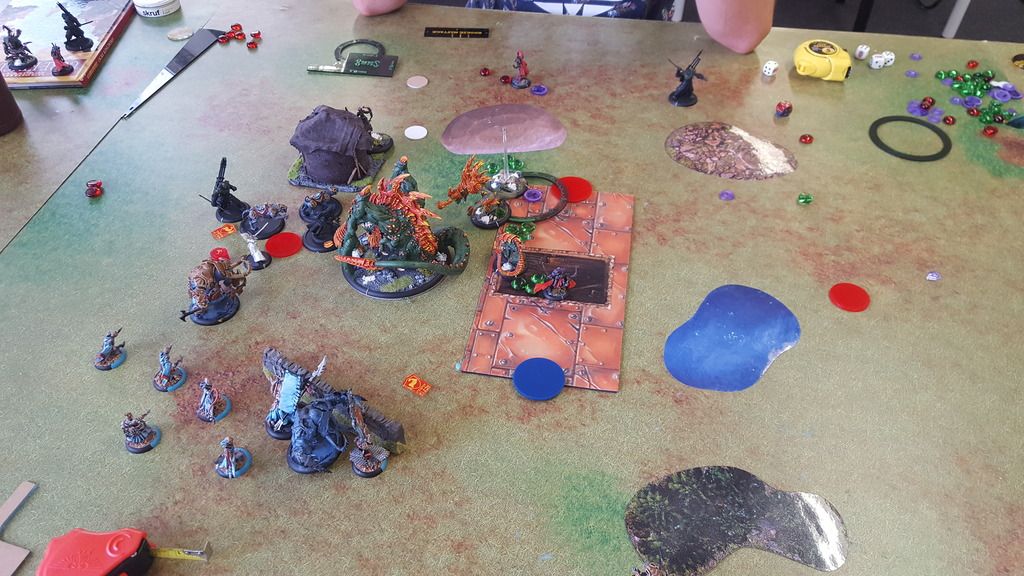
Kreoss is standing pretty much in the open behind the objective (The big statue of Sevvy) And within 16,5' of Radheim, camping 0 Focus. I could go for the assasination here, but there's really no point. True, he did kill a Ferox, but i should have little to no problems with dealing with his Jammers and keep up the plan of hemming him in on his Left flank. Radheim and Gladiator kills a couple of Jammers, The Right Ferox finish the job. Left Ferox runs forward to kill all Knights exemplar, denting the Crusader a bit and Jam. The rest moves up a bit, the Standard Bearer helps with contesting the right flag.
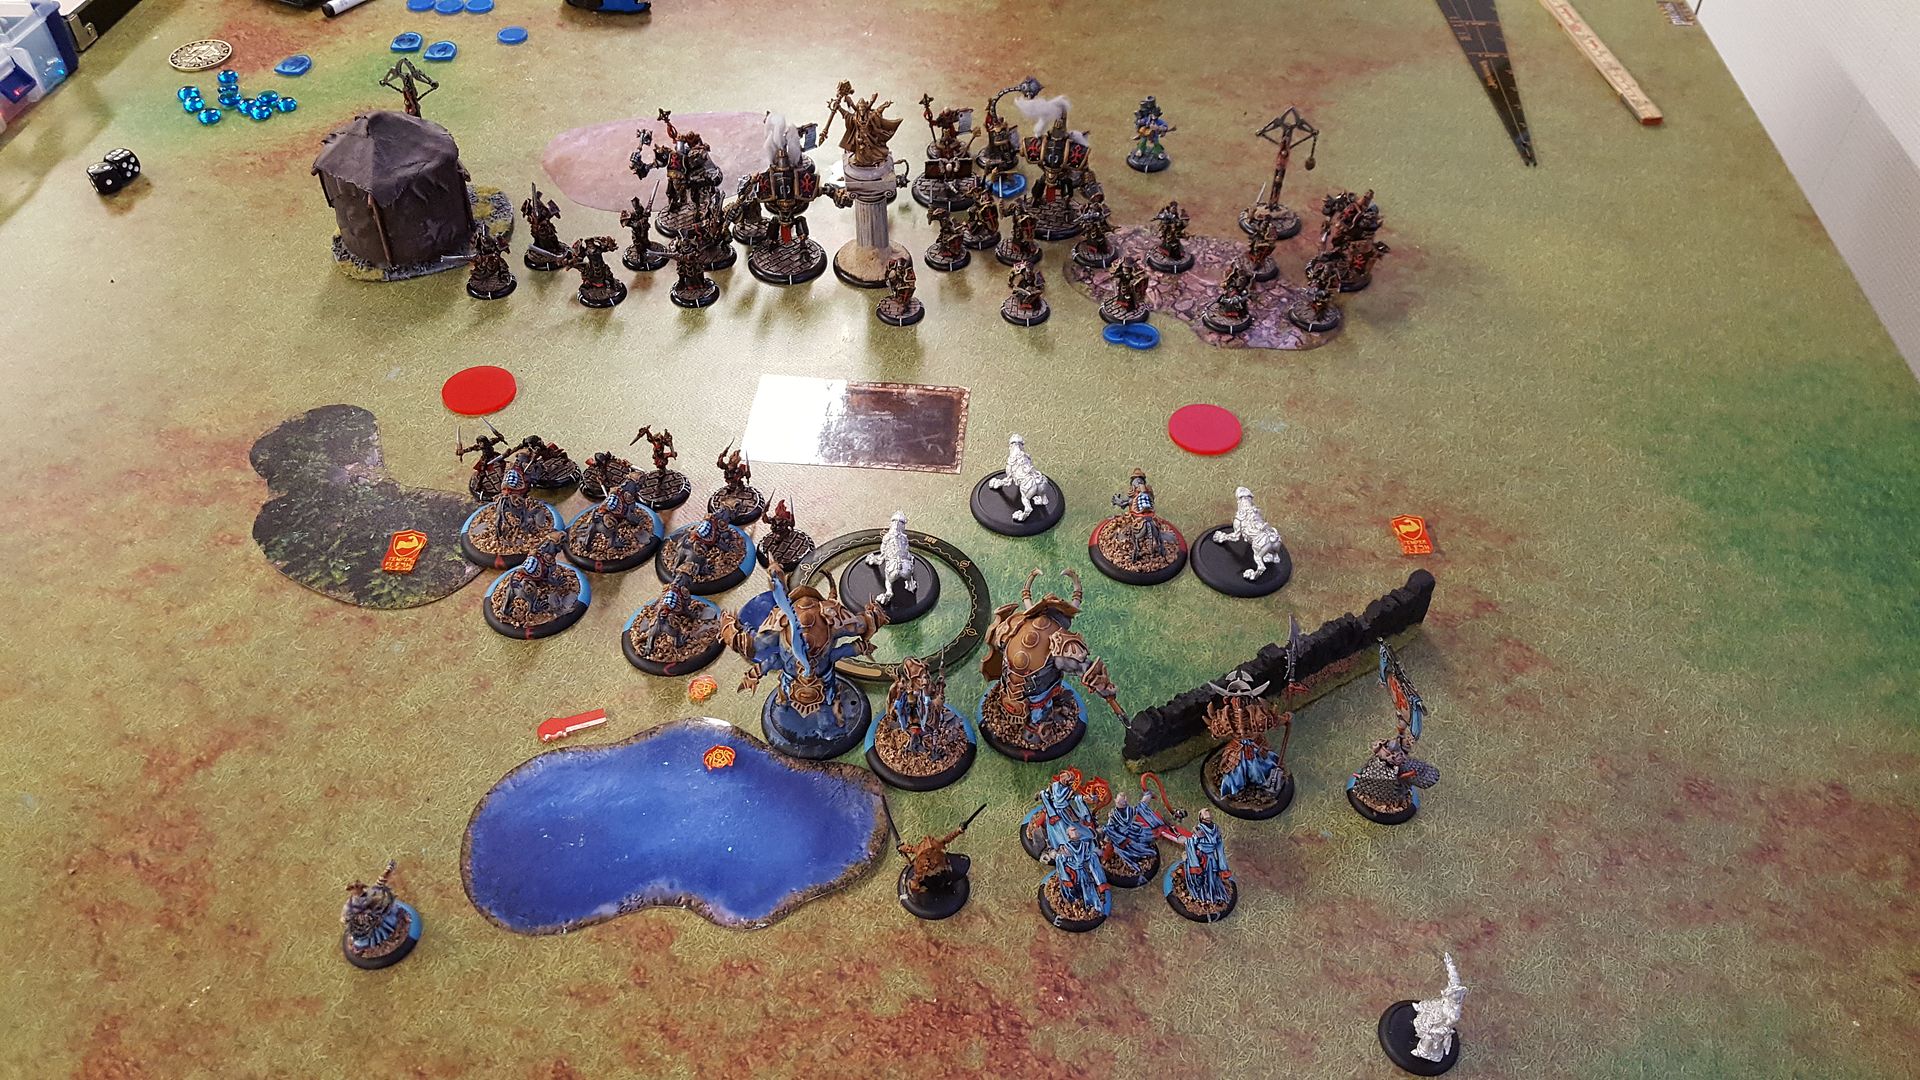
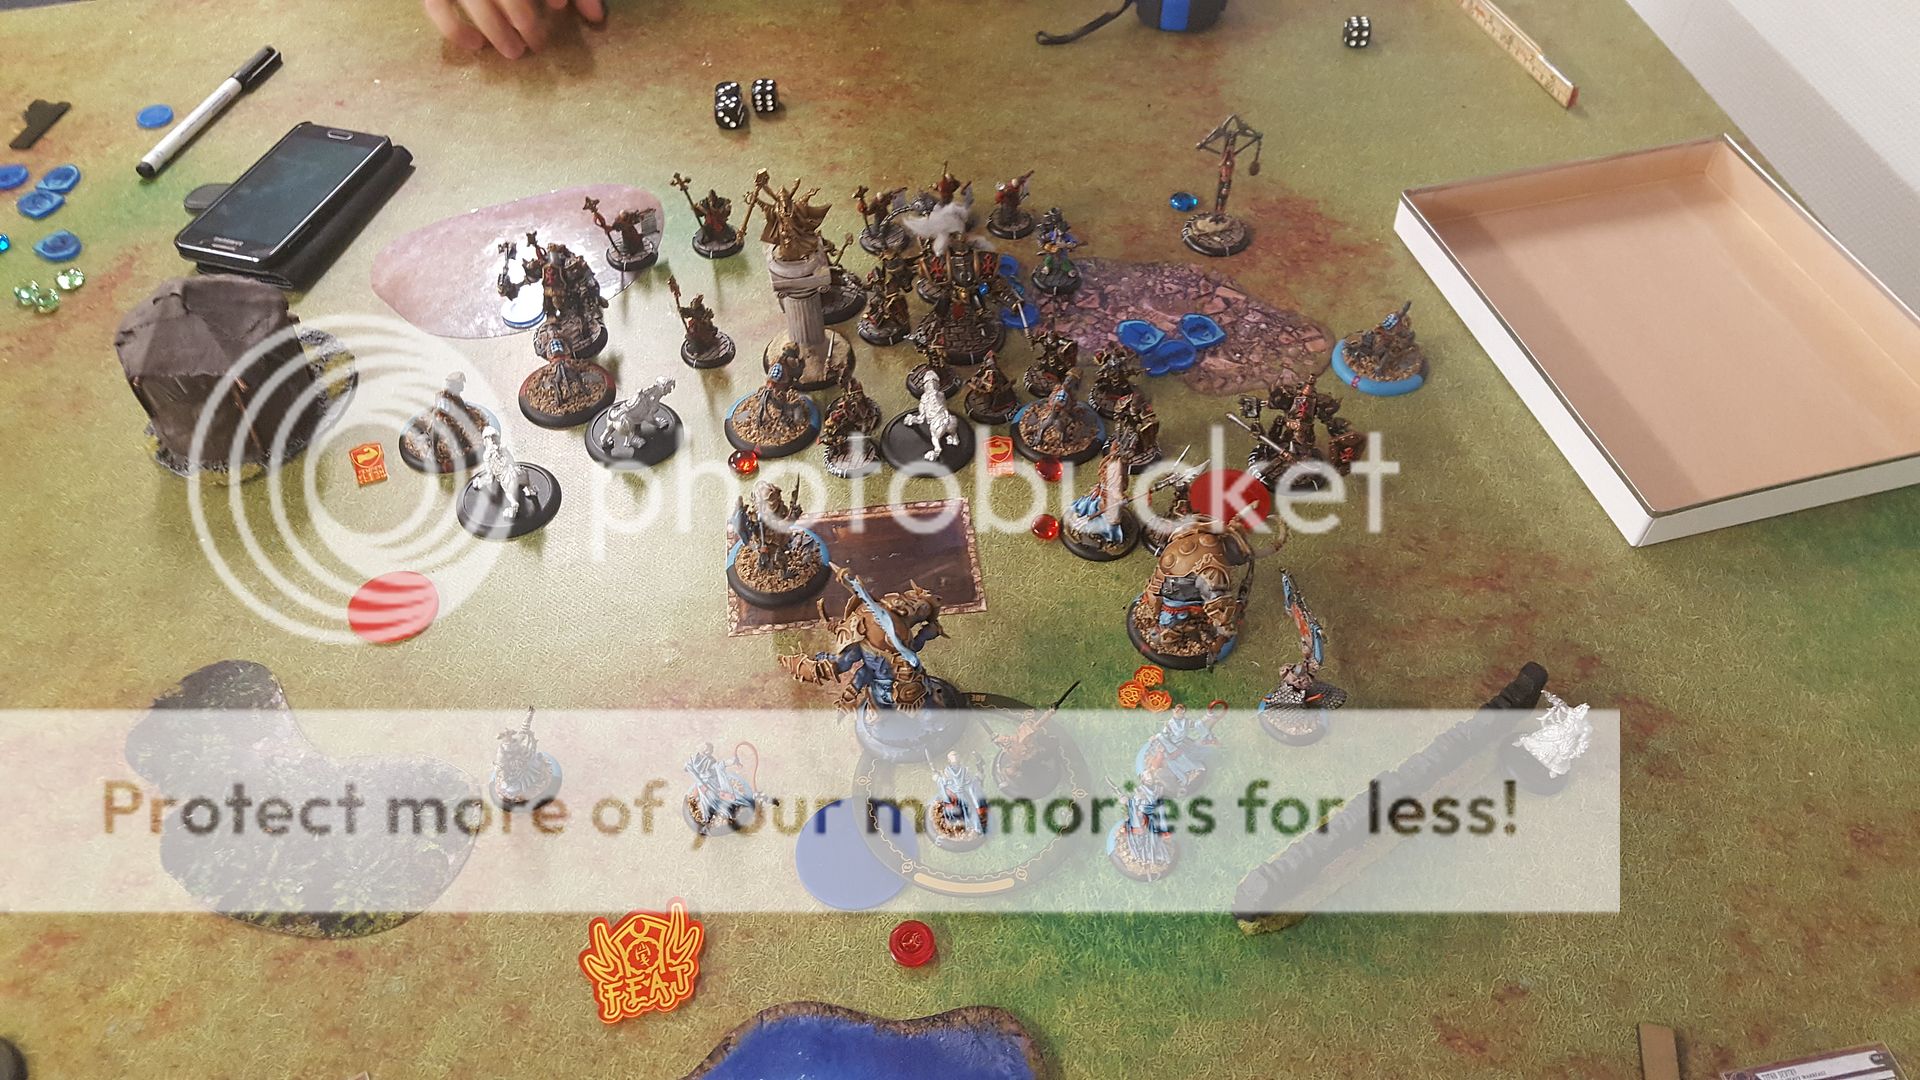
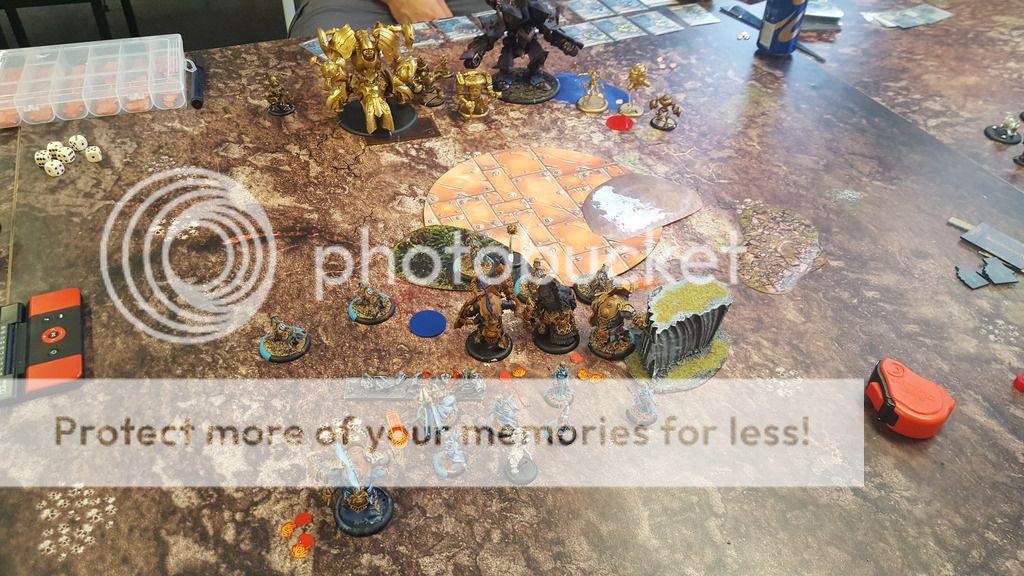
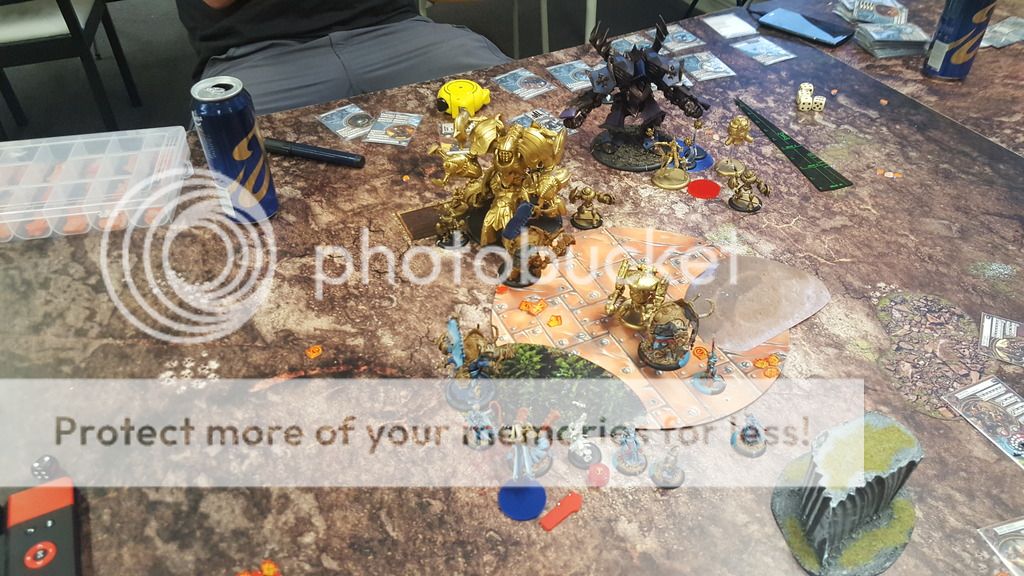
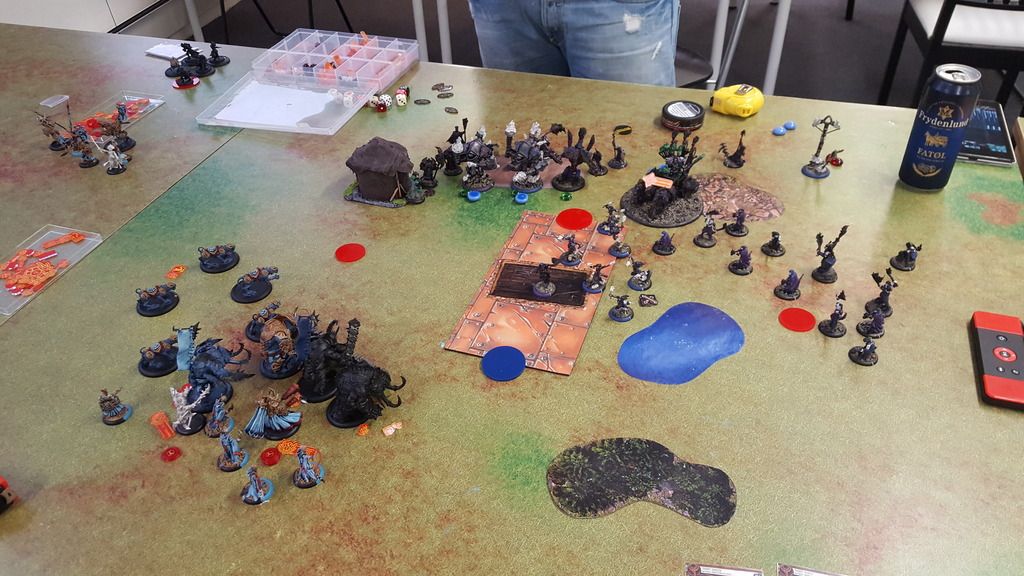
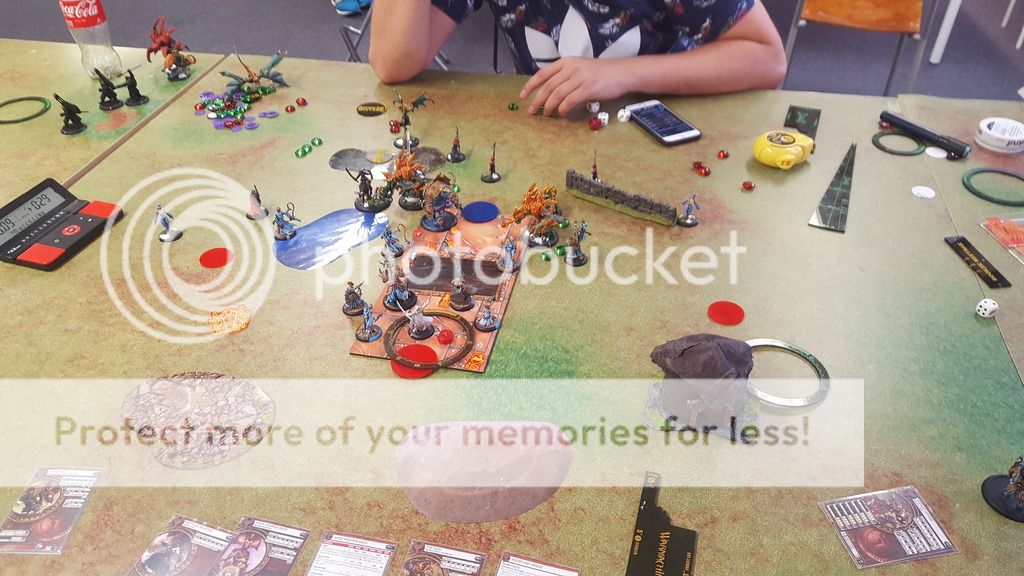
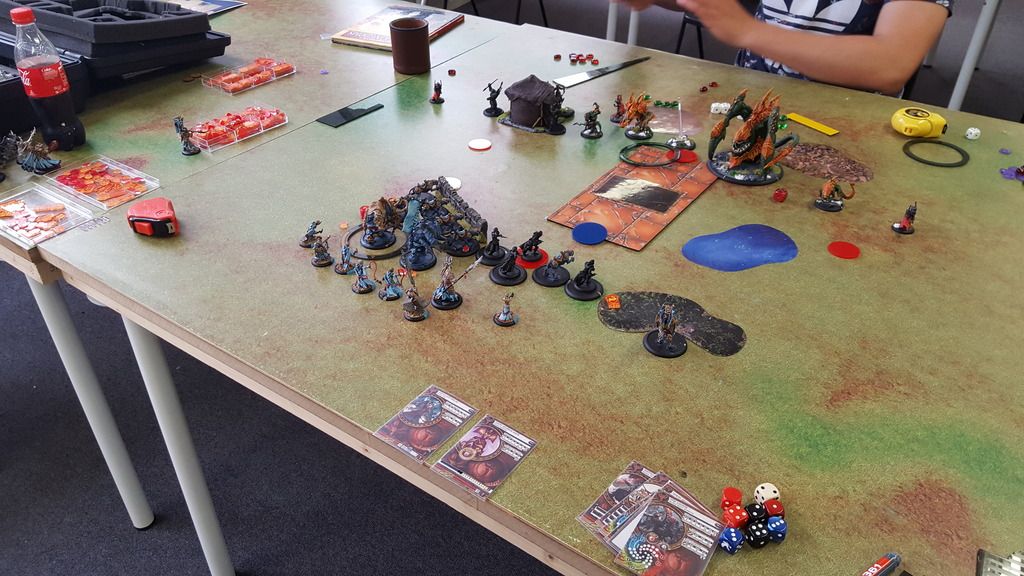
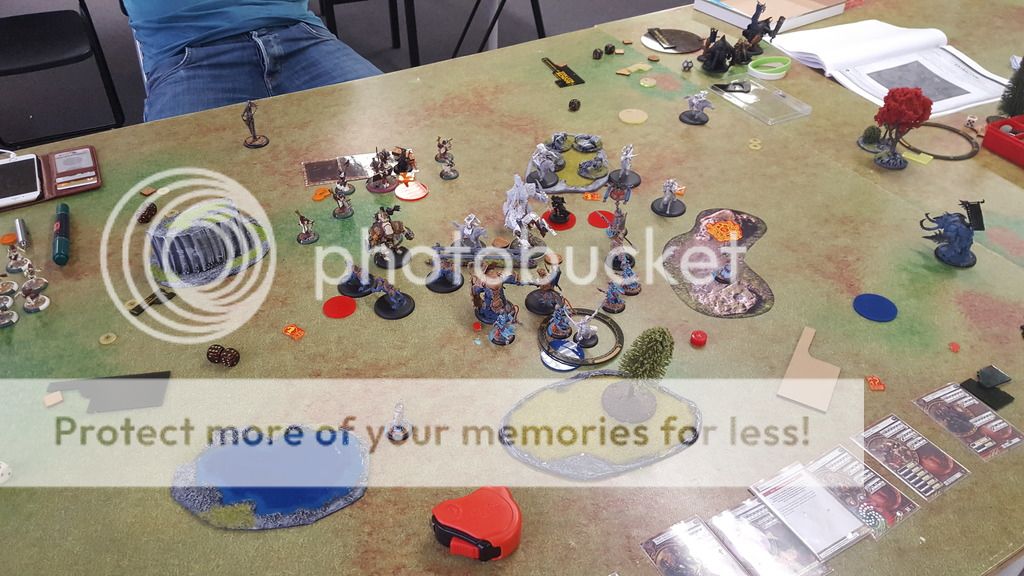
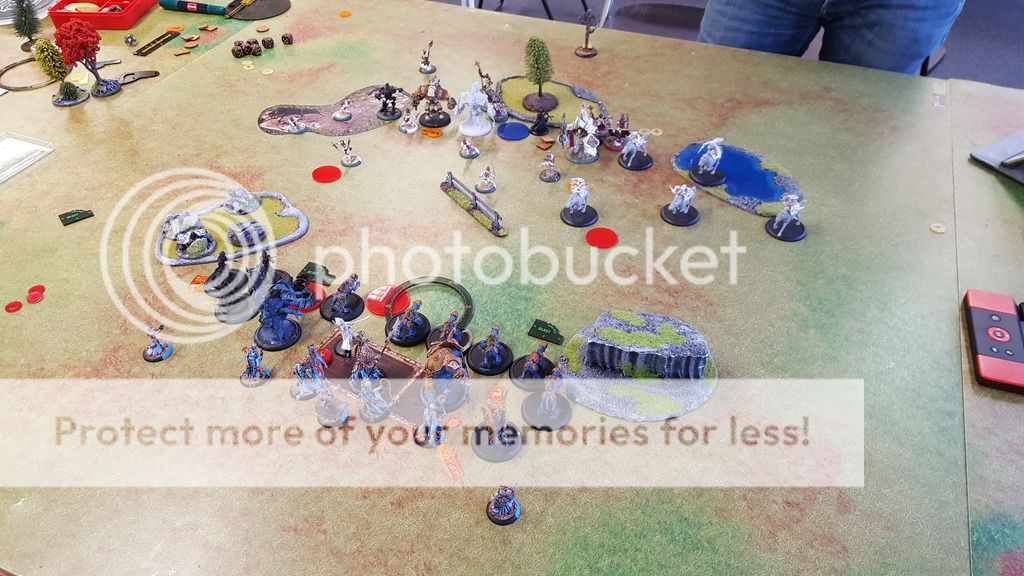
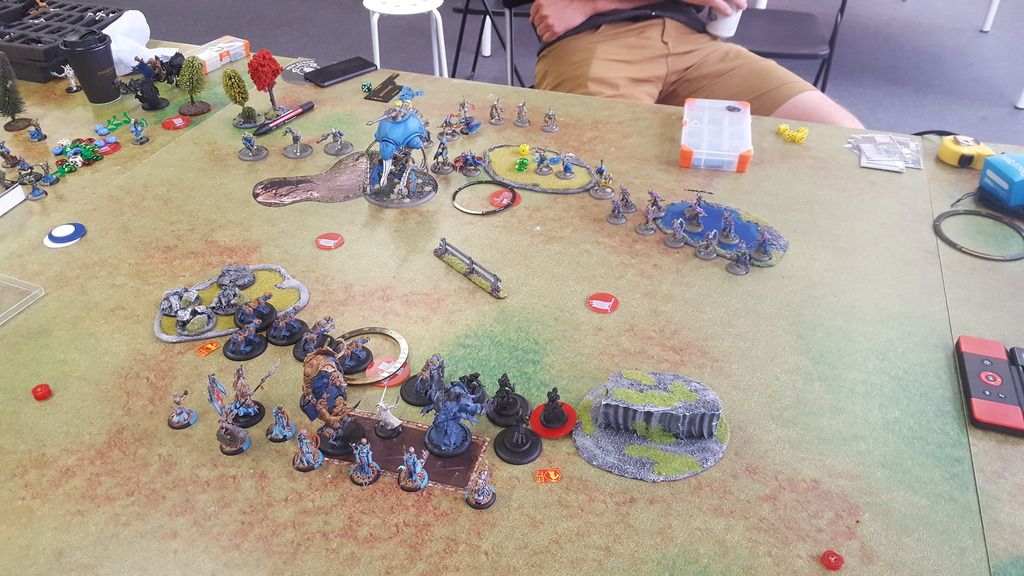
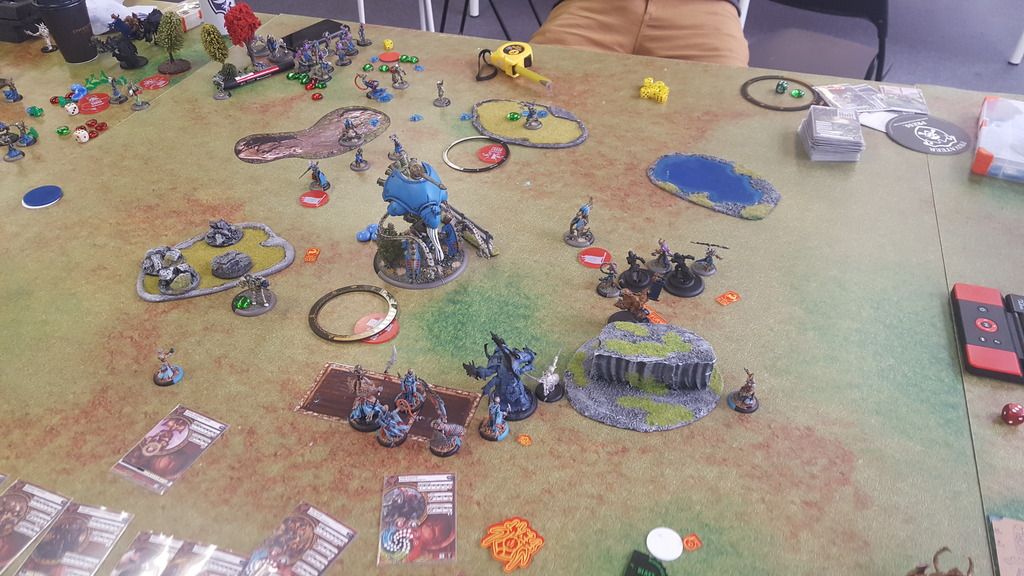
Kreoss decides to Feat, then remembers that i pretty much ignore it. The rest of his Army then proceed to do absolutely nothing to me. He even Jams himself up even further by cramming the Errants around a couple of Ferox that he fails to kill, and misses with a few attacks letting me dodge back. He manage to catch a few things on fire though, and one Ferox was outside of Stay Death and bit the dust after attacks from the Crusader.
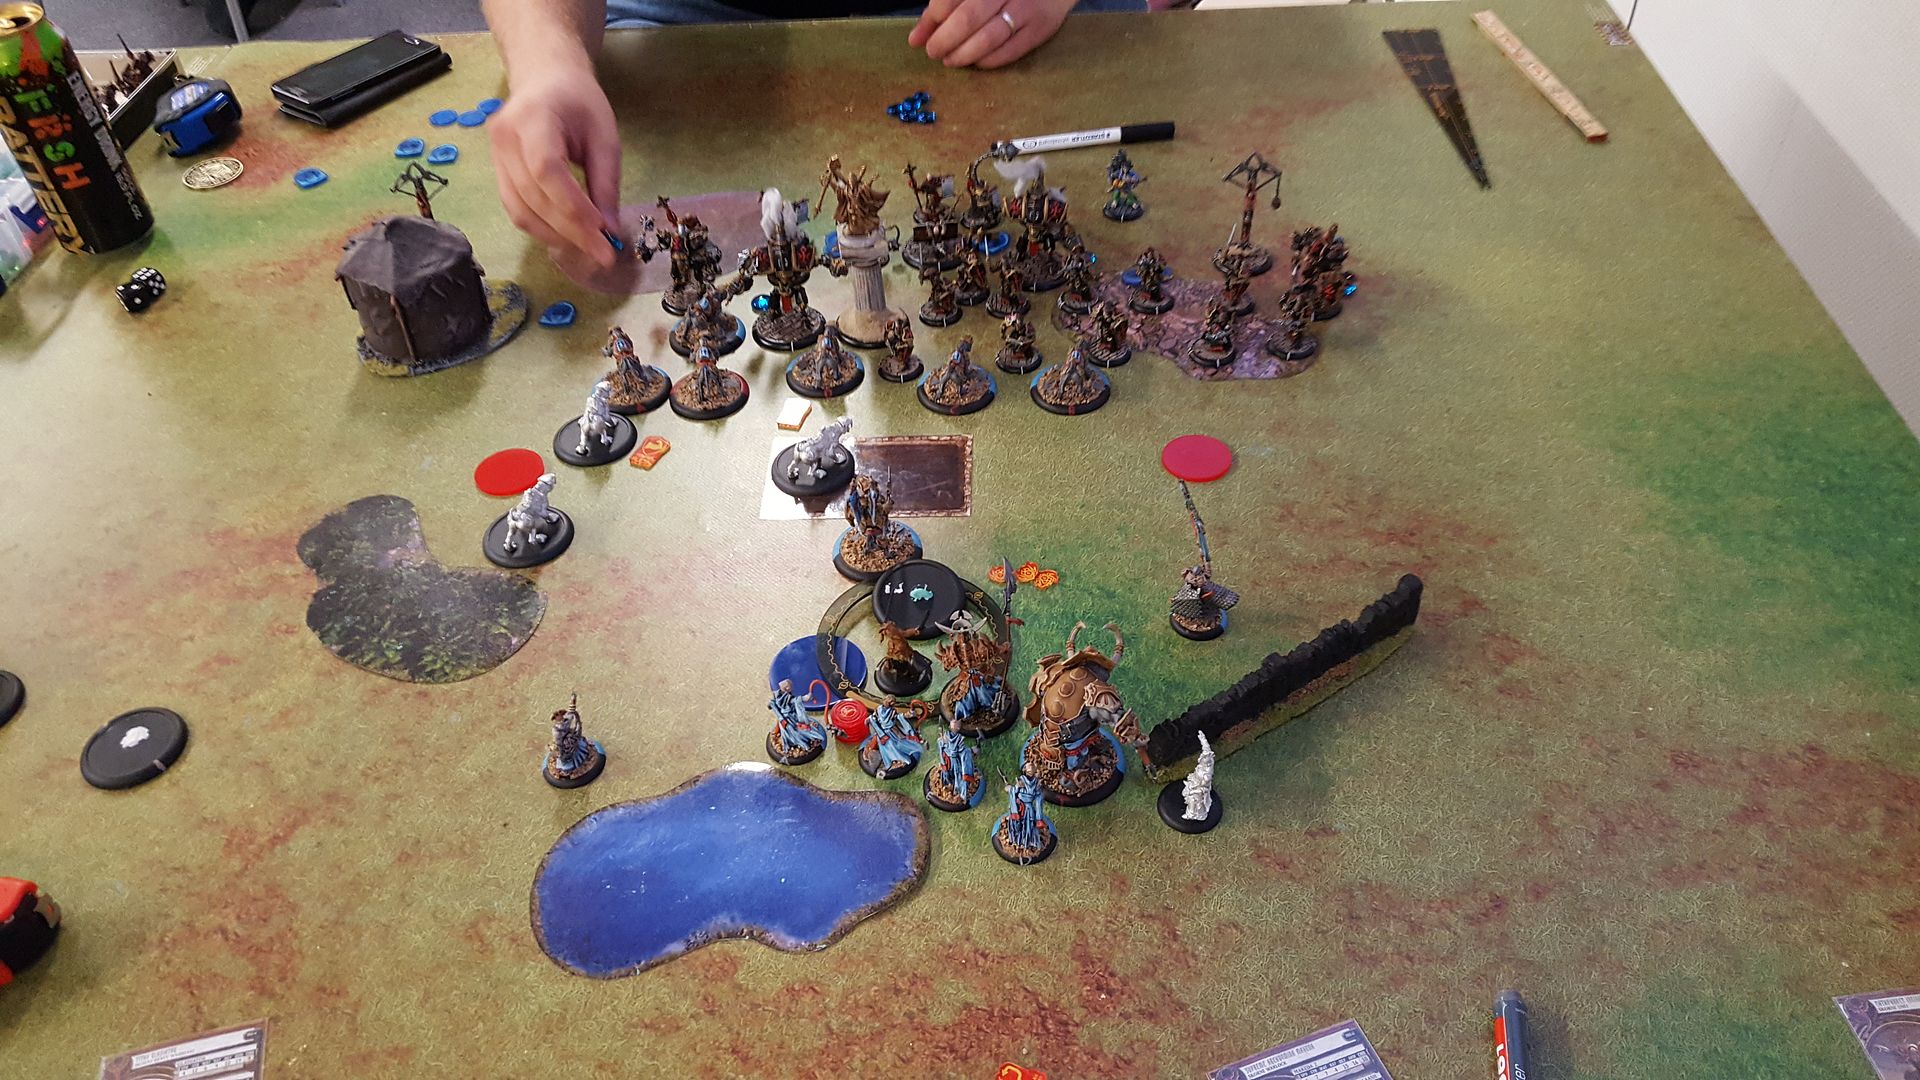
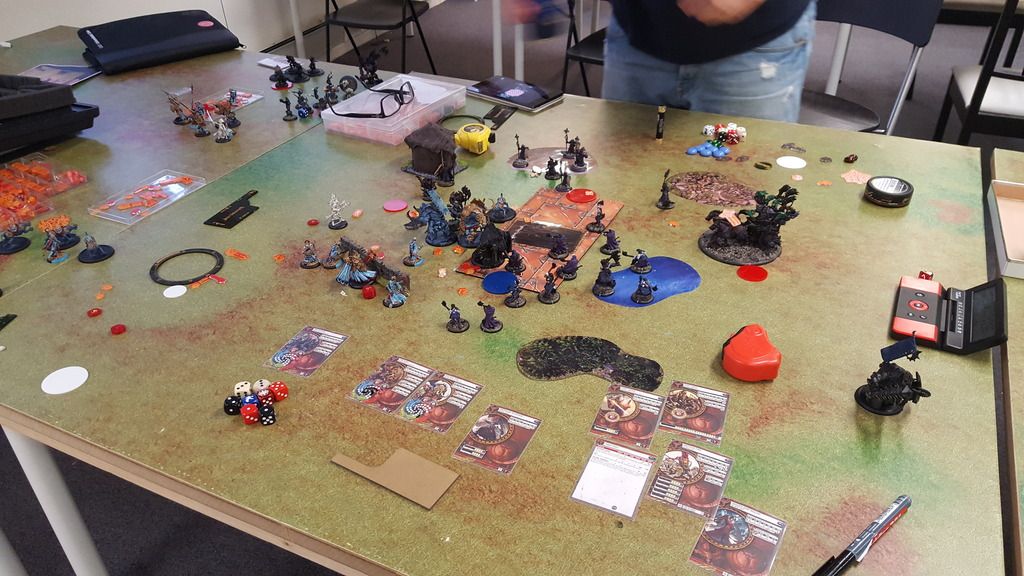
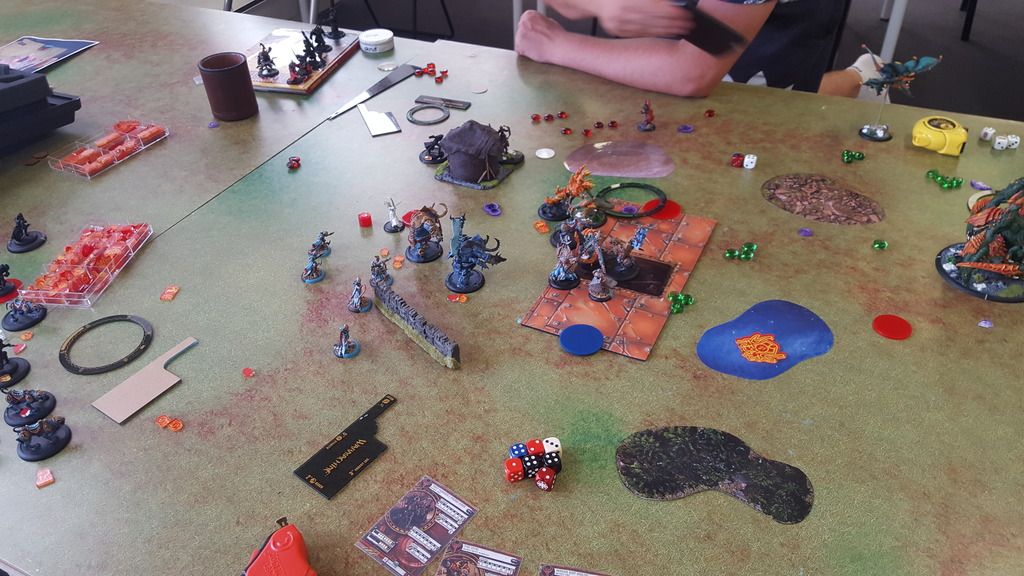
Due to him failing so completely in killing Ferox, Makeda still sits at full Fury, so the Gladiator have to take a Threshold check, and Fails! Knocking 9 boxes off Radheim. Luckilly the Continous fire on him wears off. The rest of the Ferox manages fine as well. Willbreakers remove the remaining fires when they hand out Tough. I decide to make my move. Ferox kills a few Errants, puts a few wounds into his Jacks and Jams. Radheim kills the Crusader, Tyrant cripples the right arm of the Revenger. I forget to move in to Score on the Left flag though.
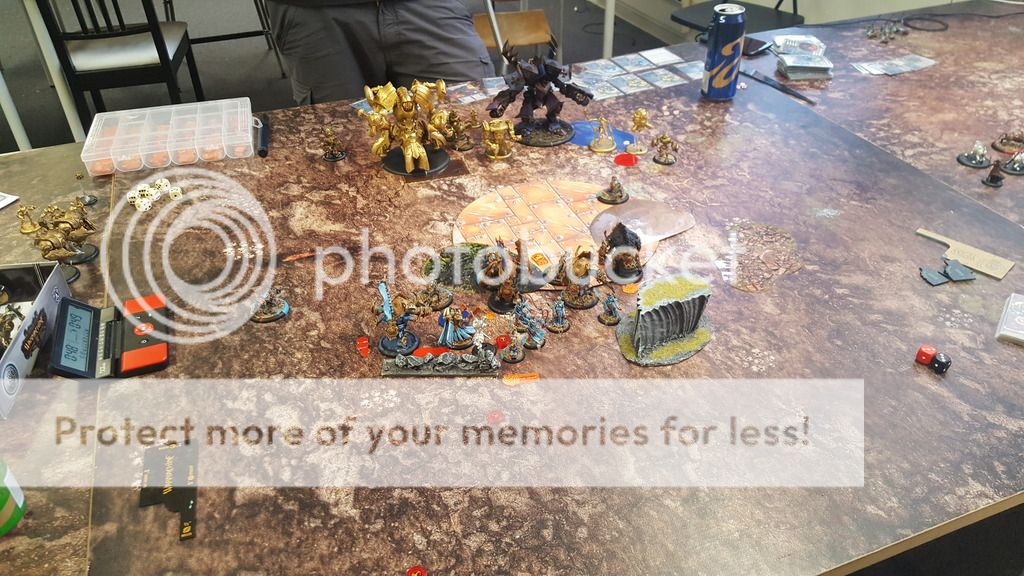
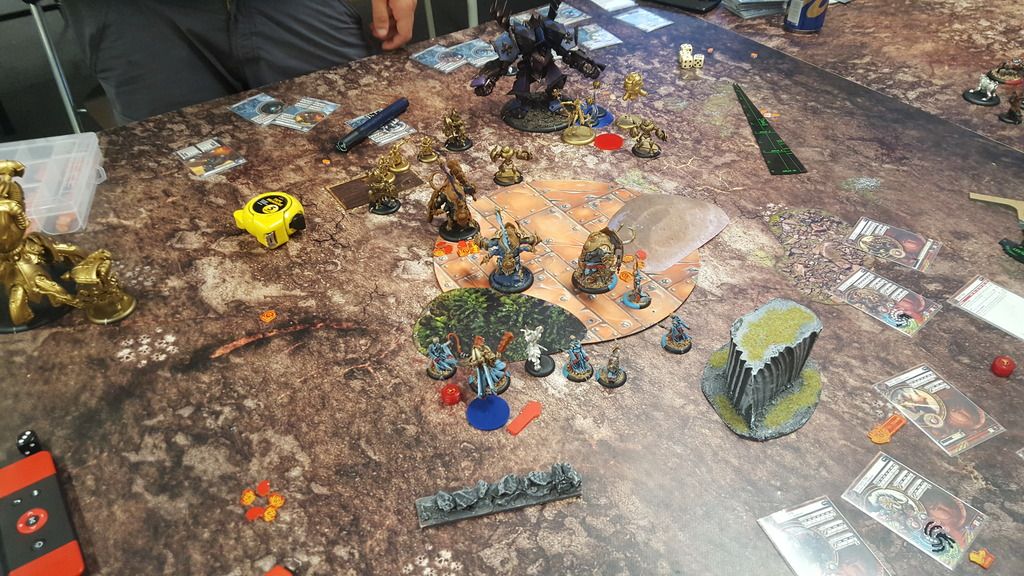
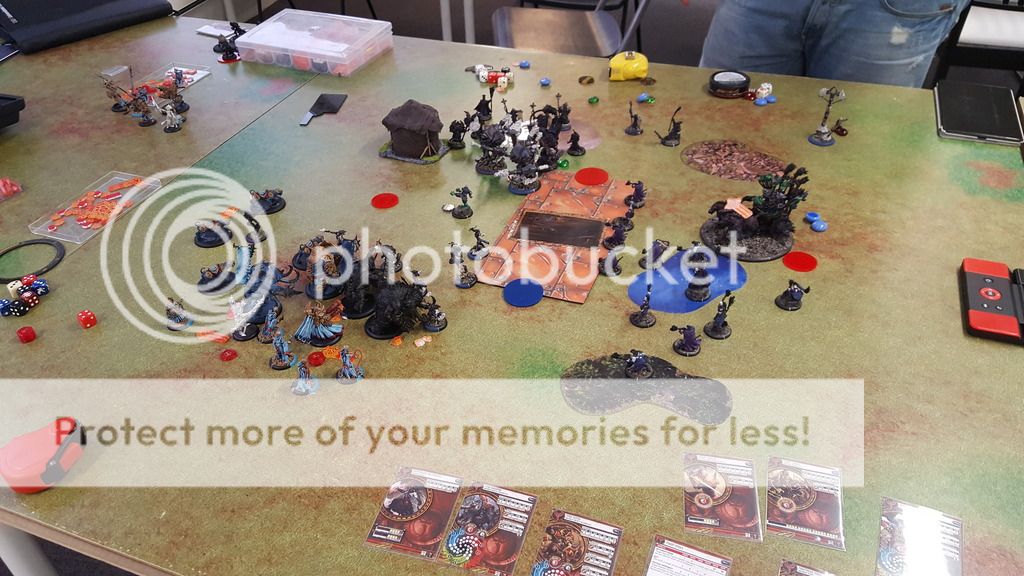
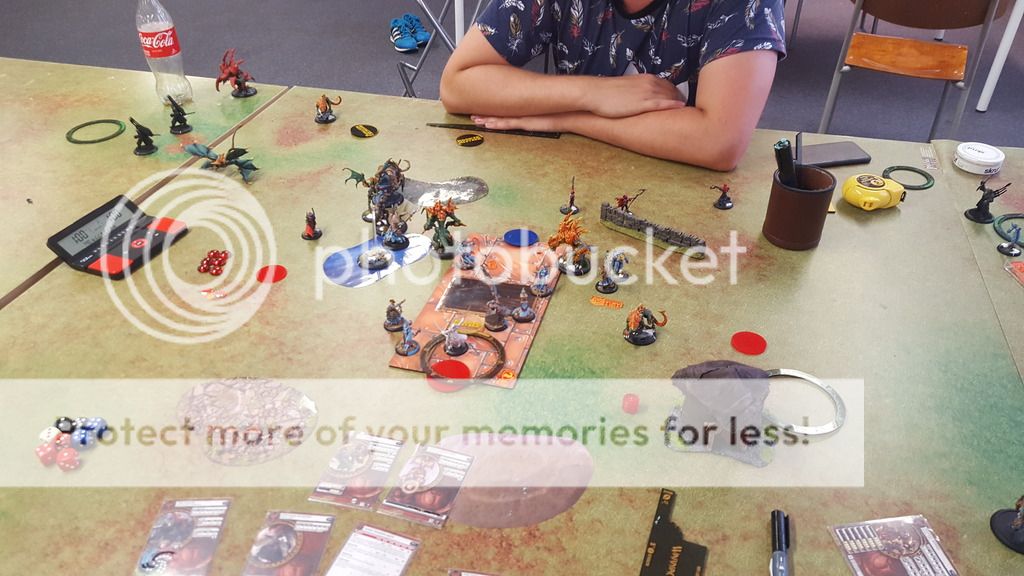
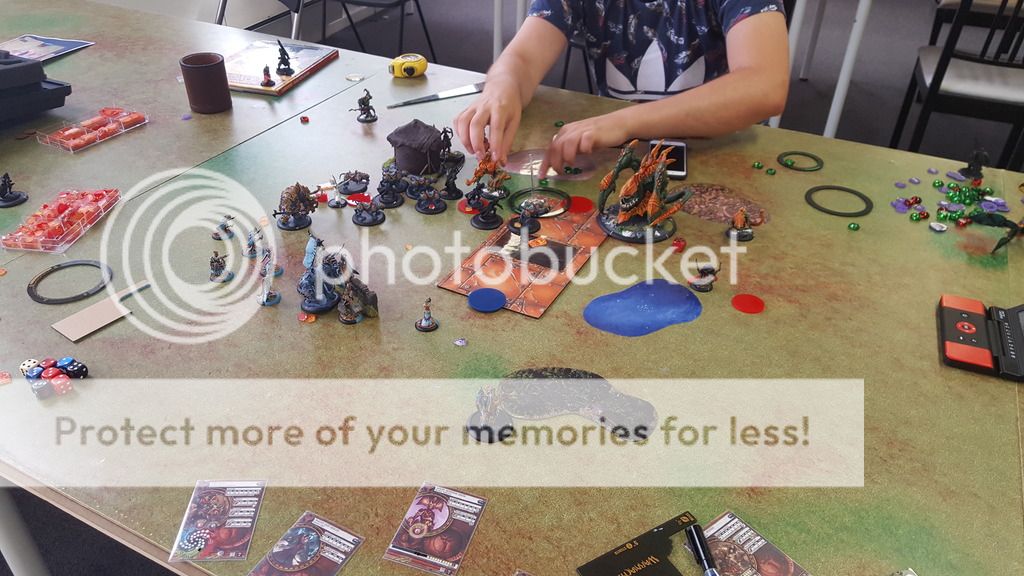
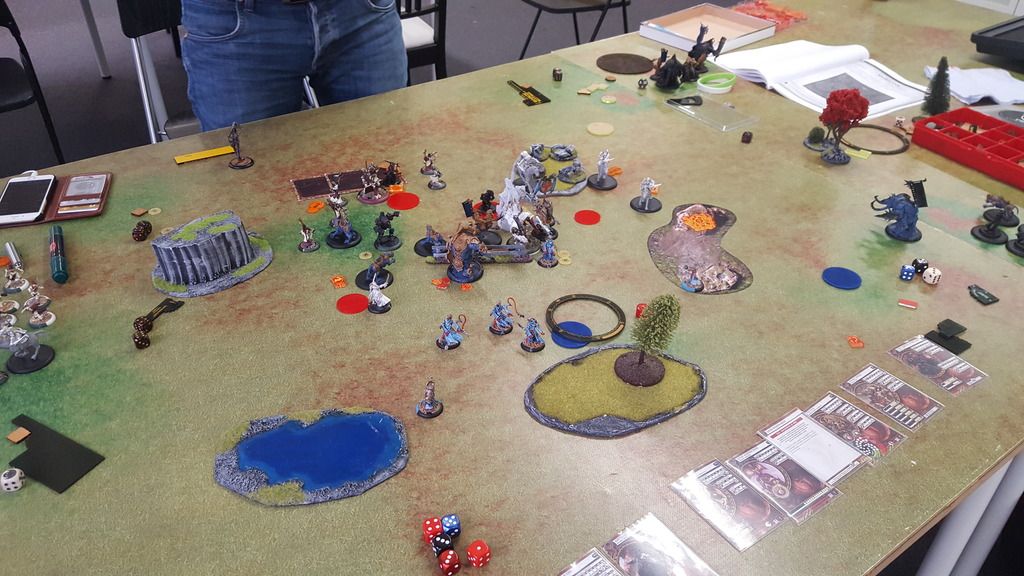
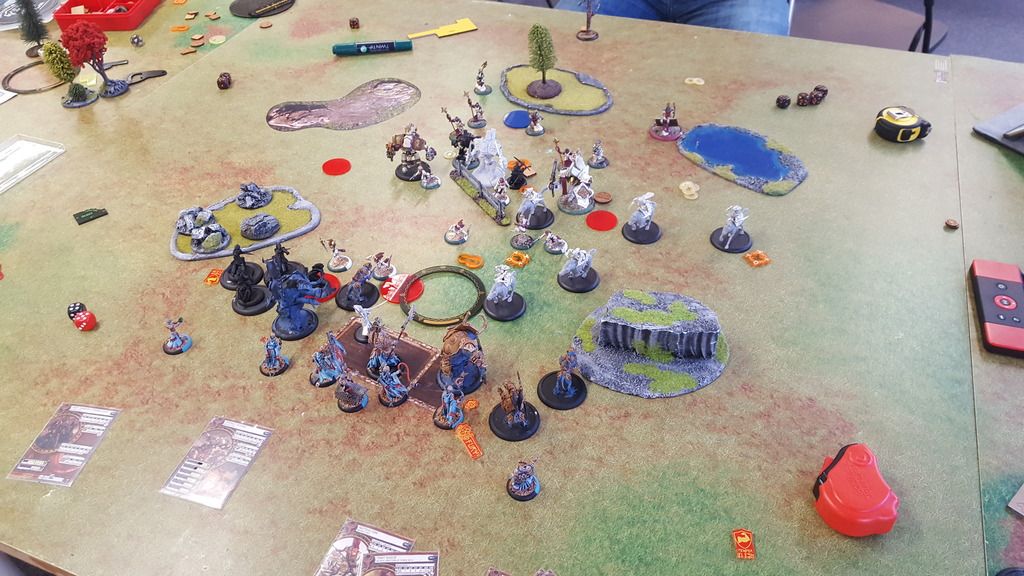
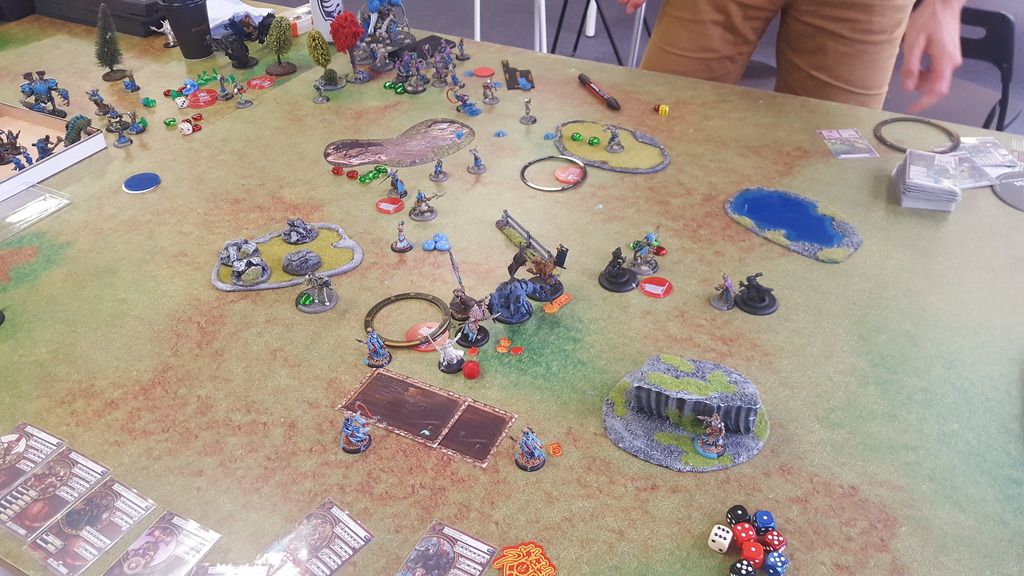
He tries to Unjam himself again, but his remaining infantry lacks the punch, and his Jacks are pretty much completely blocked from doing anything. He puts a few Cats on fire, but the damage is pretty much completely insignificant.
I kill both the Revenger and Repenter, All of the Errants, the Objective, and moves in to Score on both flags. Makeda is outside of any form of attack. Seeing this is a lost battle my opponent forfeits. (Forgot to take a picture after my last turn)
Victory to the Tyrants!
Post battle Thoughts:
My plan worked to perfection. With Daughters and Exemplar Knights out of the picture, that whole flank is mine to control, and his tight deployment meant that he blocked himself completely, making it next to impossible to launch a counter punch after my alpha.
I really need to work on both playing faster, and the Fury management. Granted, he should have made me use some Fury on his devastatingly bad T2, but there was no need for me to risk having the Gladiator Frenzy. Losing Radheim that Early could have put a real stop to my plans as he is vital in scaring the enemy caster into positioning himself poorly in fear of assassination. This and the fact that he can clear half the boxes of a heavy, or nearly one shot a light with Storm Rager up makes him one of the strongest pieces in the entire list. He creates so much room for the other elements of the list by just being there, forcing the opponent to make tough choices and spend a lot of time trying to hide vital elements from him.
